
Real Estate
Sell the life inside the listing.
Create additional lifestyle scenes from real property photographs. Keep the original image as the factual view of the space.
Make the image work harder
The scene is there. Now make it sell.
Stage with intent
Create warm, market-ready scenes without moving furniture or closing the property.
Explain a possible use
Show how an existing room or outdoor space could be used without claiming that the scene actually happened.
Keep the record separate
Use accurate originals for the property itself and clearly identified concepts for suitable campaigns.
A controlled workflow
From the source photo to a usable campaign scene.
Keep the original image as your factual record. Use Instant Photoshoot to create additional marketing options around a specific audience, season, or occasion.
- 01
Use an accurate listing image
Begin with a level photograph that records the room, condition, view and permanent features without ambiguity.
- 02
Stage around a buyer question
Choose furniture and activity that explain scale, room use or lifestyle rather than adding decoration without purpose.
- 03
Disclose and preserve the original
Label virtually staged or lifestyle images and keep the unaltered photograph easy for the buyer to compare.
Read the image pair
One property. Two different kinds of image.
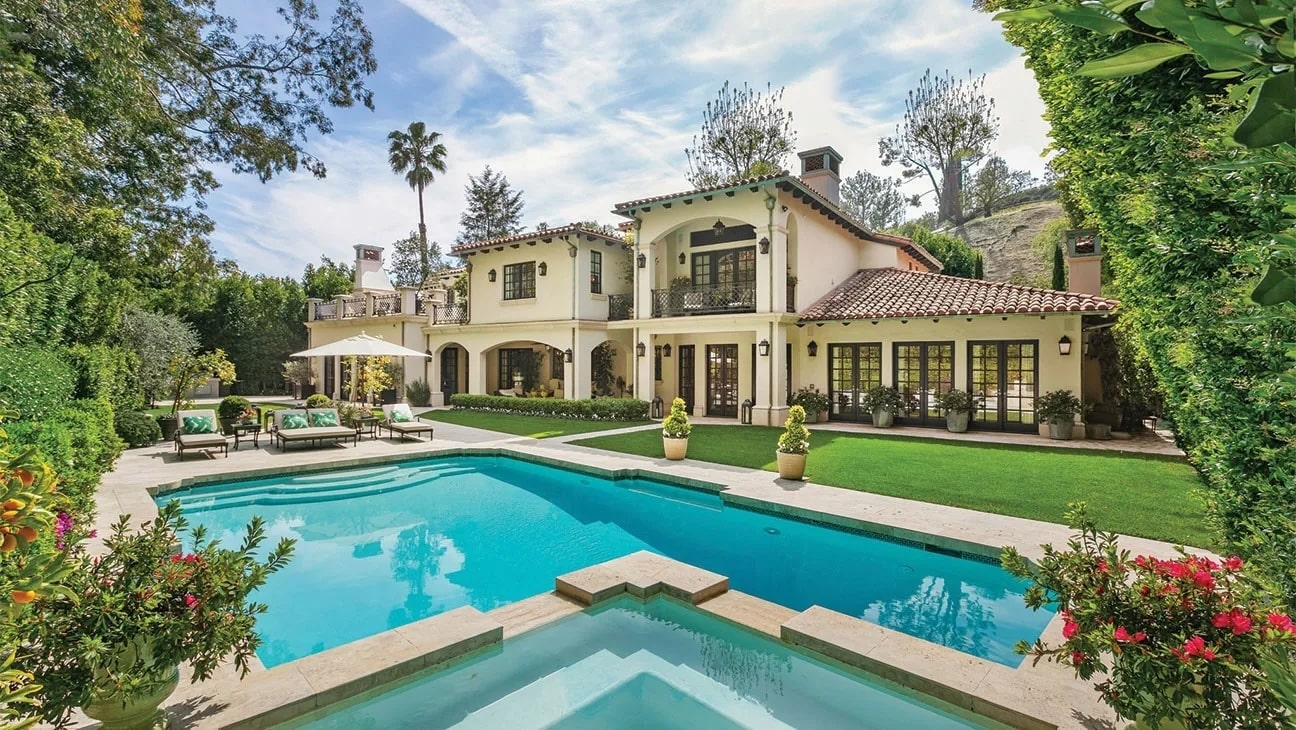
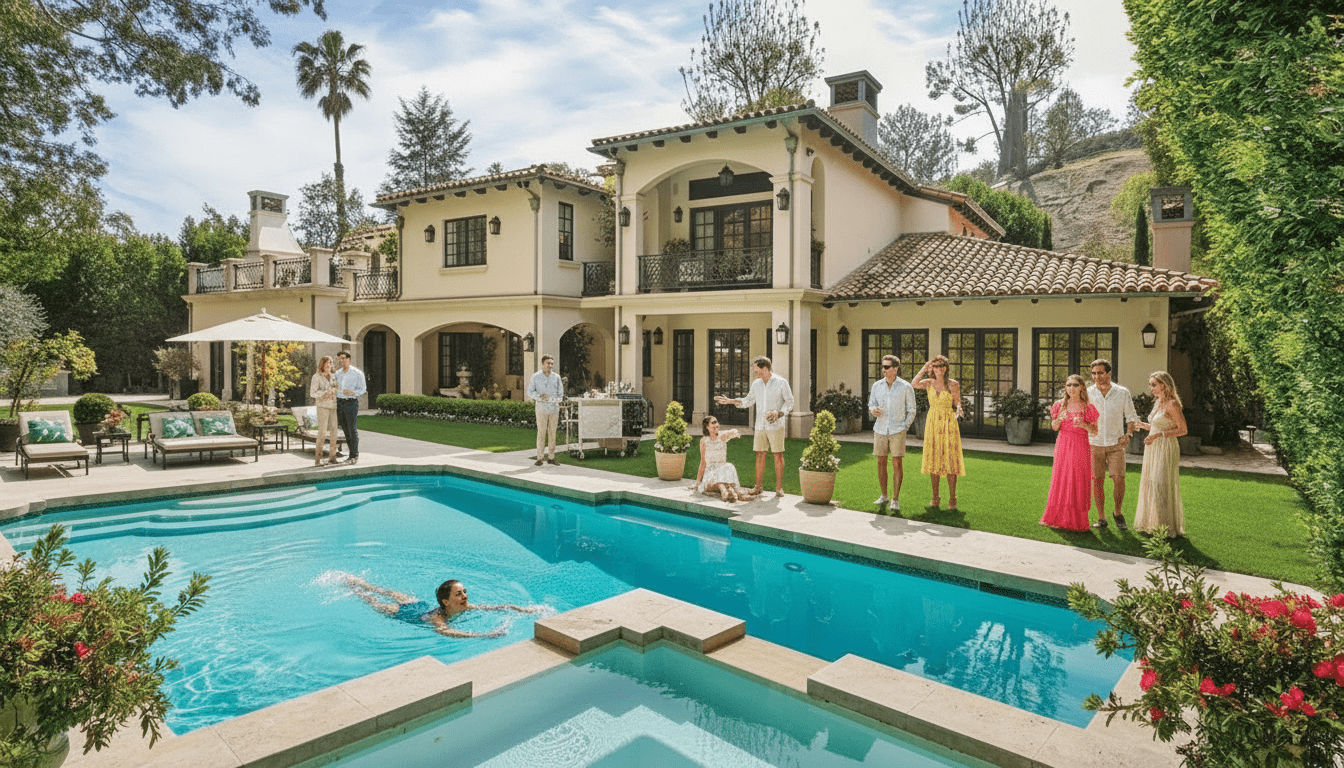
The comparison above starts with a photograph of a house and pool, then shows an illustrative version with people in the scene. It is a lifestyle concept, not evidence of a gathering at the property or an example of furnishing an empty room.
Keep the source as the property record
Use the original photograph to show the building, pool, terrace and surroundings as photographed. Check that it is current and that you have permission to use it. A generated scene cannot replace missing evidence of the property’s actual condition or facilities.
Approve the concept against that record
Compare the two images at full size. Check the building, pool outline, access routes, view and neighbouring features. People should not hide a defect or imply a service or communal facility the property does not offer. Reject the scene if a permanent fact has changed.
Decide where each image belongs
Keep factual images easy to find. If you use the concept on a website, brochure or advert, identify it beside the image, for example: “AI-generated lifestyle illustration based on a property photograph.” Check the rules of the particular listing portal or advertising channel before uploading it there. A label does not make an inaccurate scene acceptable.
Plan the original and the concept in the editable property photography briefFor professional guidance on truthful property imagery, read Propertymark’s photography advice and the National Association of REALTORS®’ 2026 Code of Ethics. Requirements vary by location, professional body and publishing channel.
Plan the source images
Practical guides for real estate.
Real estate photography guide
Photograph a property room by room while keeping scale believable.
Read the guidePhotograph small rooms
Explain compact spaces without distortion or misleading angles.
Read the guideResponsible virtual staging
Stage empty rooms while protecting material property facts.
Read the guideCommon questions
What teams ask before they create.
What is the difference between virtual staging and a factual listing photo?
A factual listing photo records the property as photographed. A virtually staged image adds temporary furniture or lifestyle elements and should be labelled so buyers can distinguish the concept from the original.
What property details should never be changed?
Do not alter dimensions, condition, views, boundaries, access, neighbouring structures or permanent fixtures in a way that changes a buyer’s understanding of the property.
Should the empty room image be included with virtual staging?
Yes. Keeping the original beside the staged version provides a clear factual reference and helps buyers understand the purpose of the visualisation.
Put more possibility in every image.
Start with the photo you already have. Finish with a visual people want to step into.
Review each publishing channel’s image rules before use