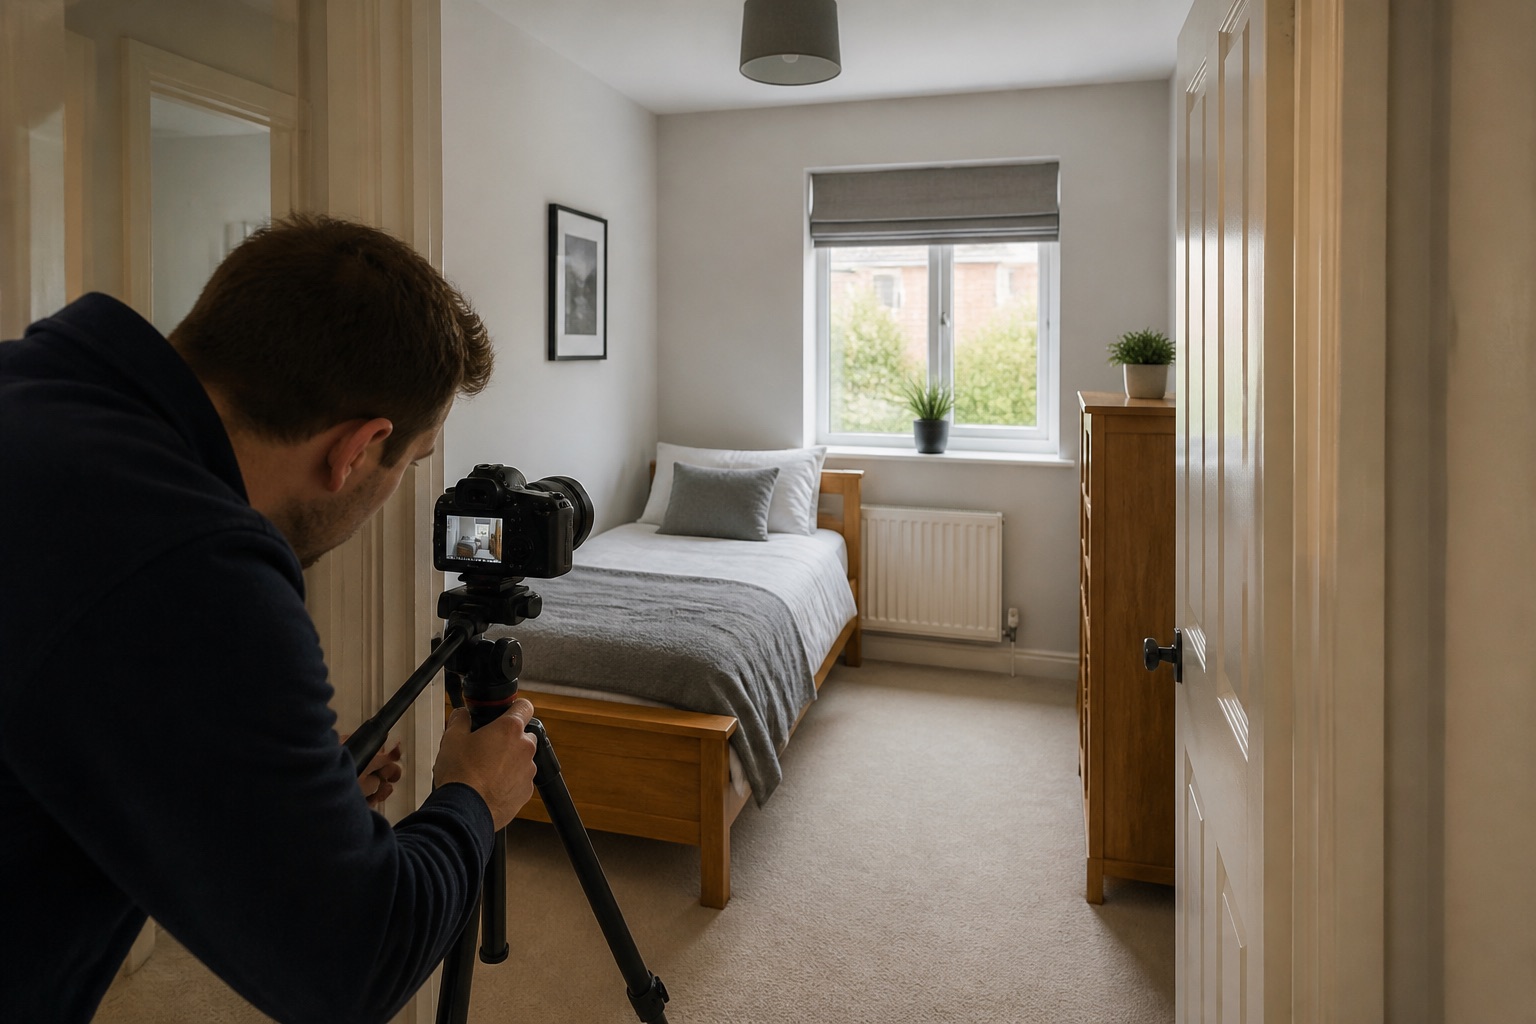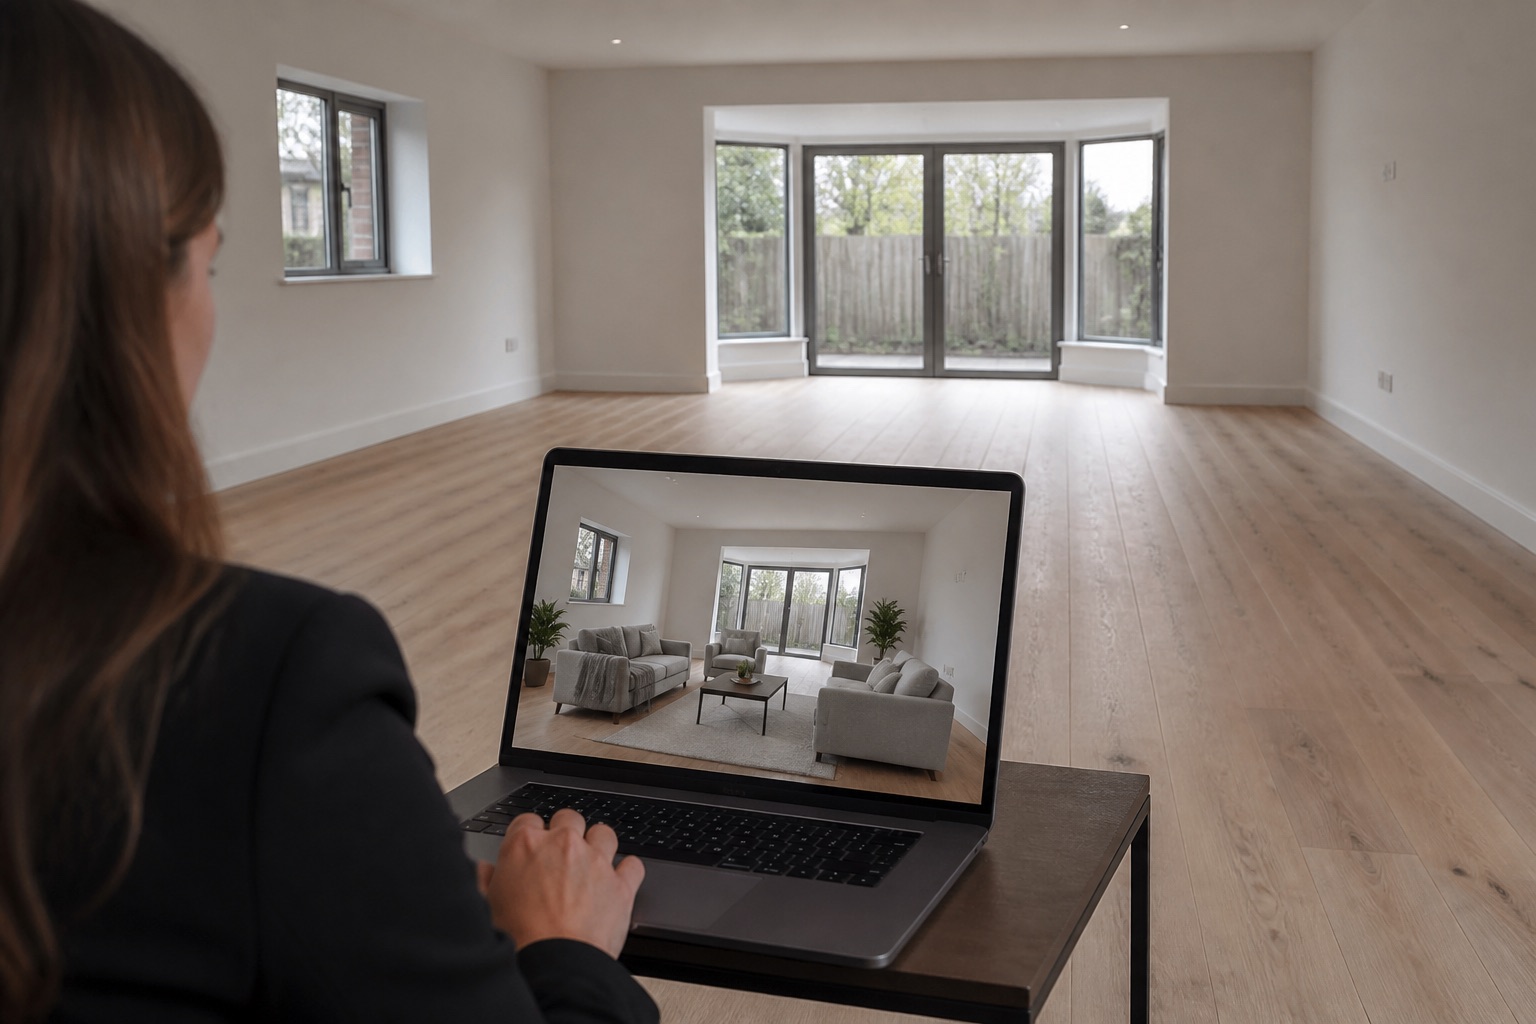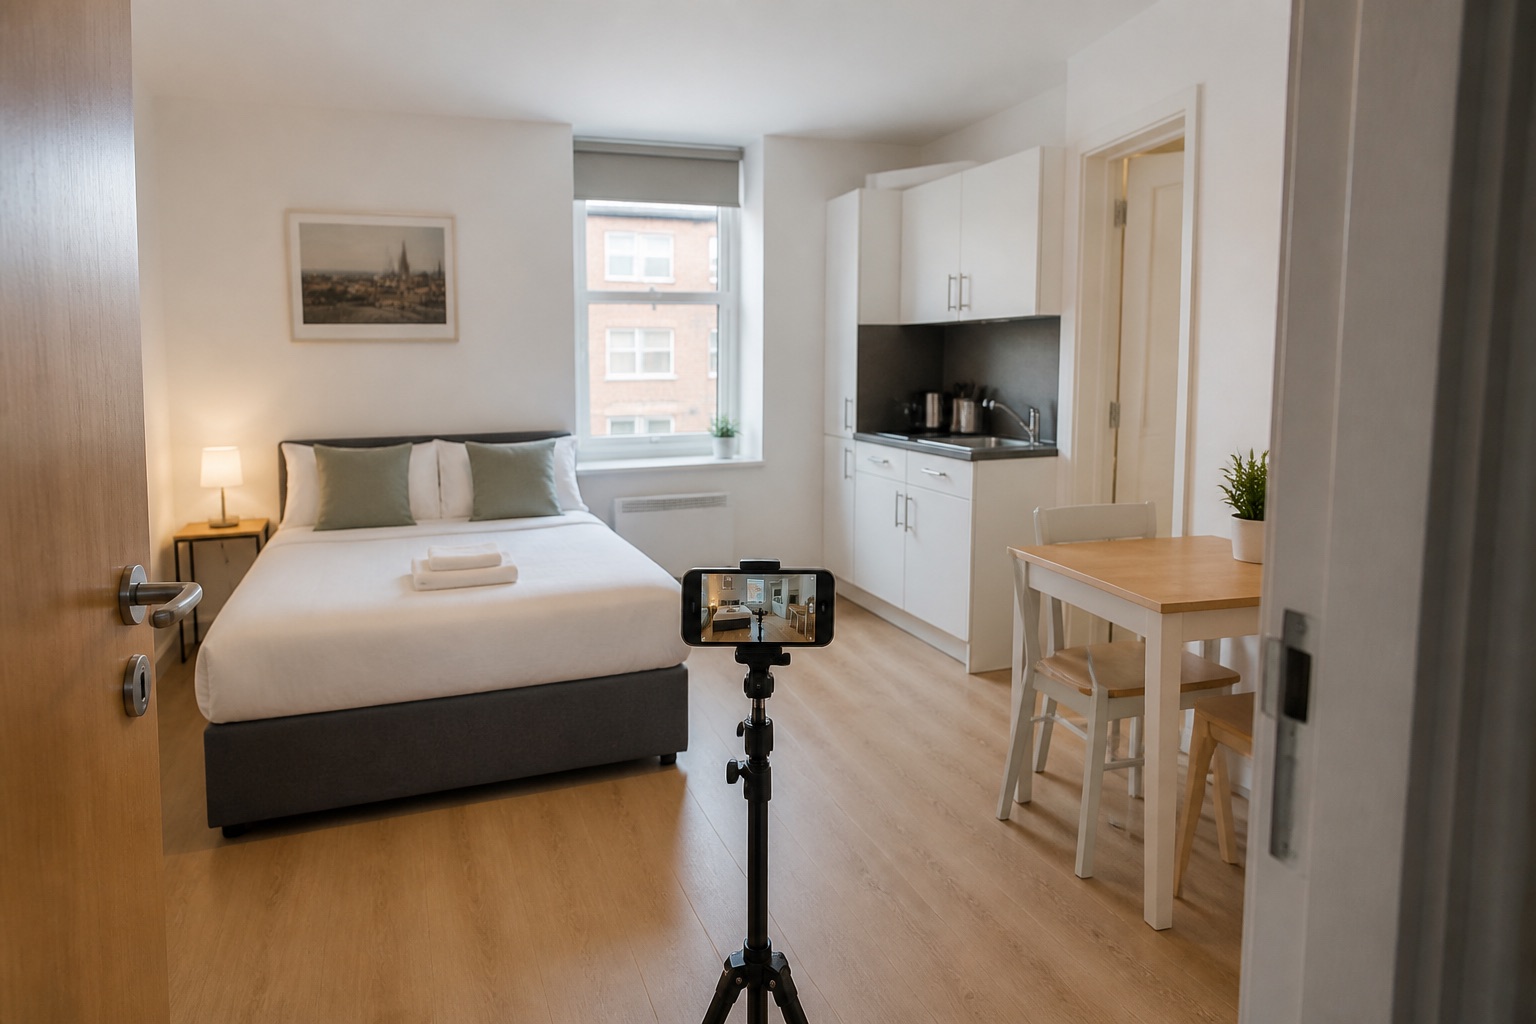
Good real estate pictures help a buyer understand the property quickly. They show space, condition, layout, light, and the details that separate one listing from another without making the home look unfamiliar.
The process is mostly preparation and consistency. A level camera in a tidy room with balanced light will usually create a more useful listing than an extreme wide lens and heavy editing.
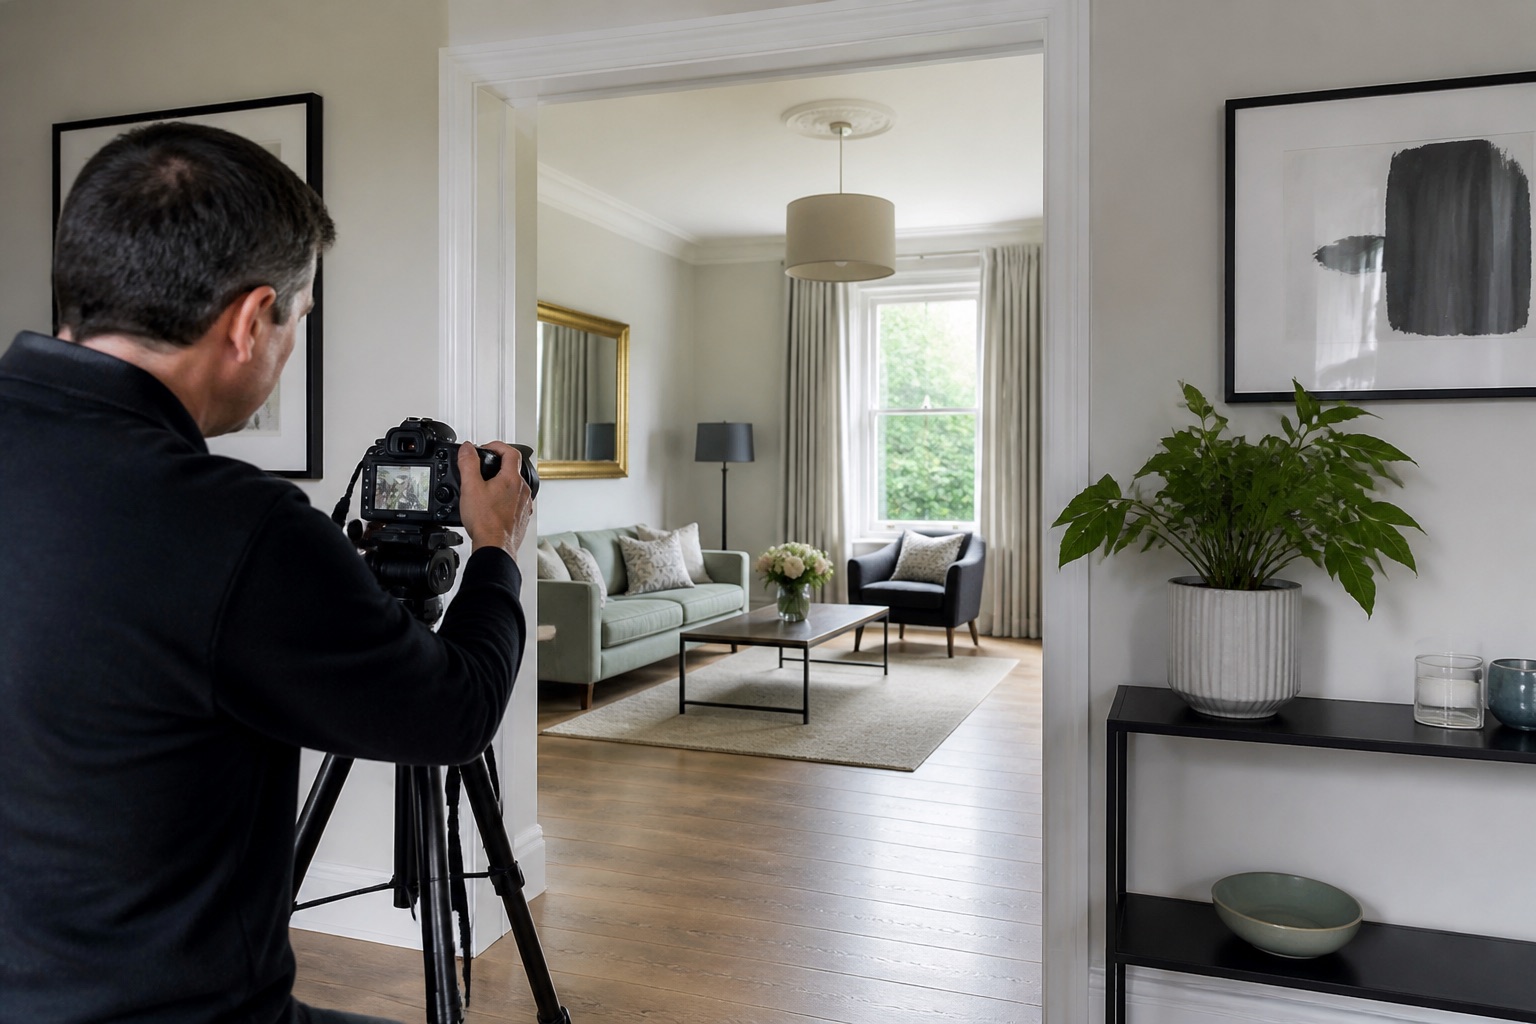
The short version
- Prepare each room around its purpose.
- Keep the camera level and proportions believable.
- Build a logical room-by-room sequence.
- Edit for clarity while preserving permanent facts.
Visual field guide
Make every frame answer a buyer question
Property photos work best as evidence. Each image should explain space, connection, condition or potential while keeping the permanent facts of the listing intact.
Space
What fits here?
Use a level, moderate wide view that shows scale without stretching doors or furniture.
Connection
How does it flow?
Use a second angle to show entrances, adjoining rooms and the route through the property.
Feature
Why remember it?
Show the view, fireplace, storage, garden or original detail after the wider evidence.
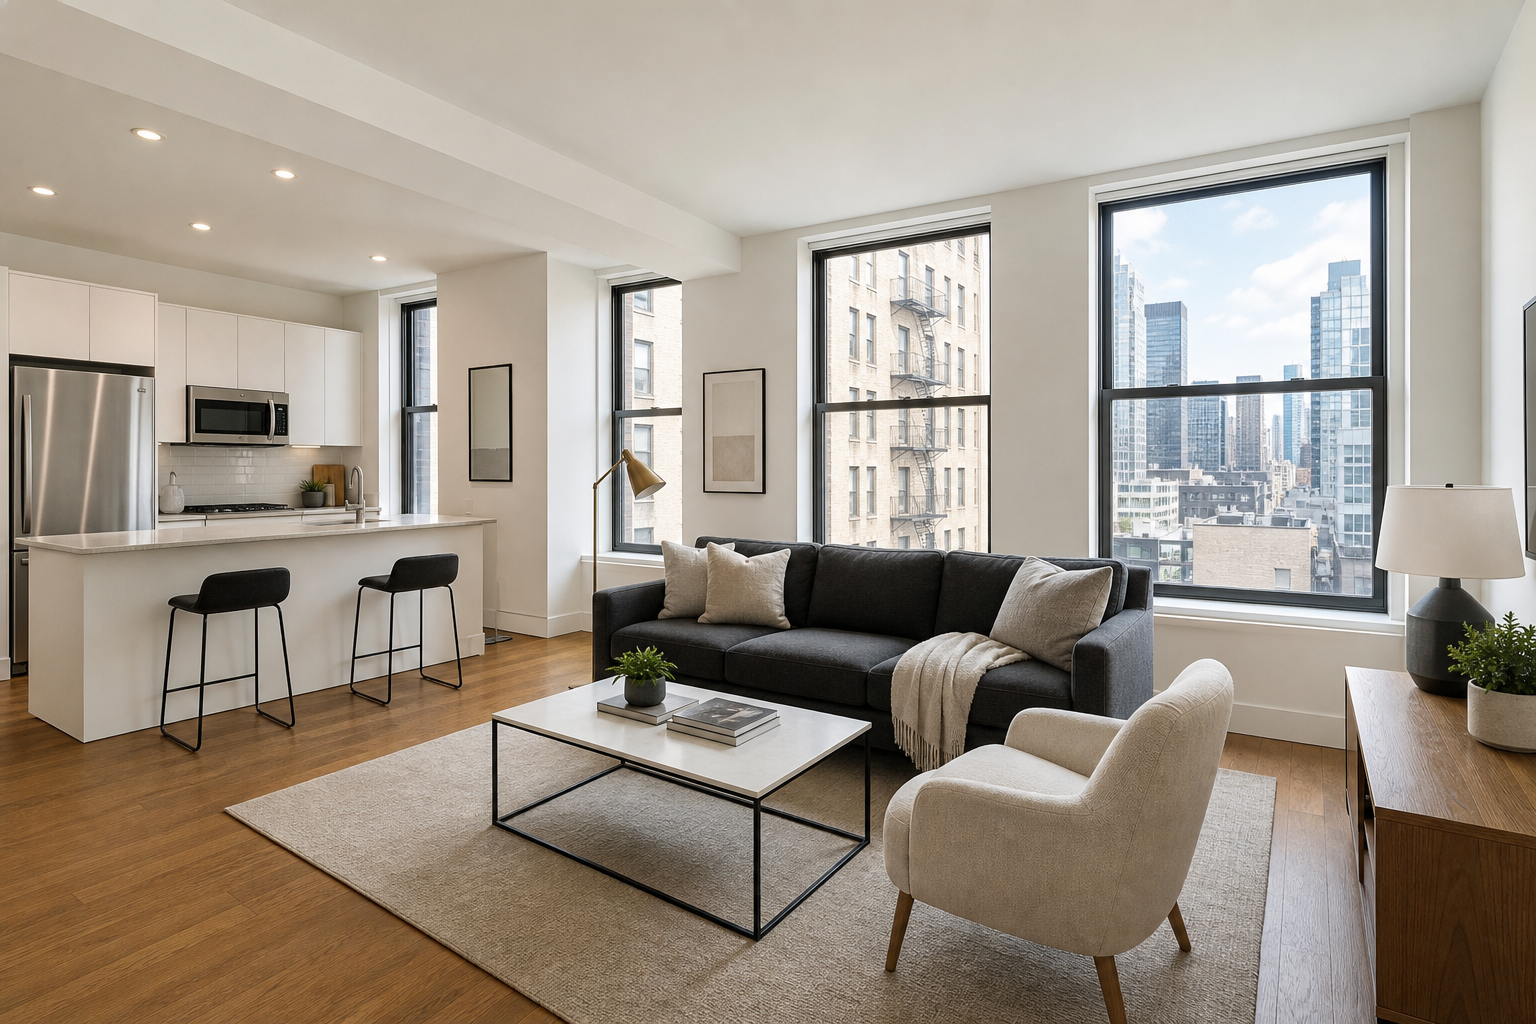
SourceFactual listing image
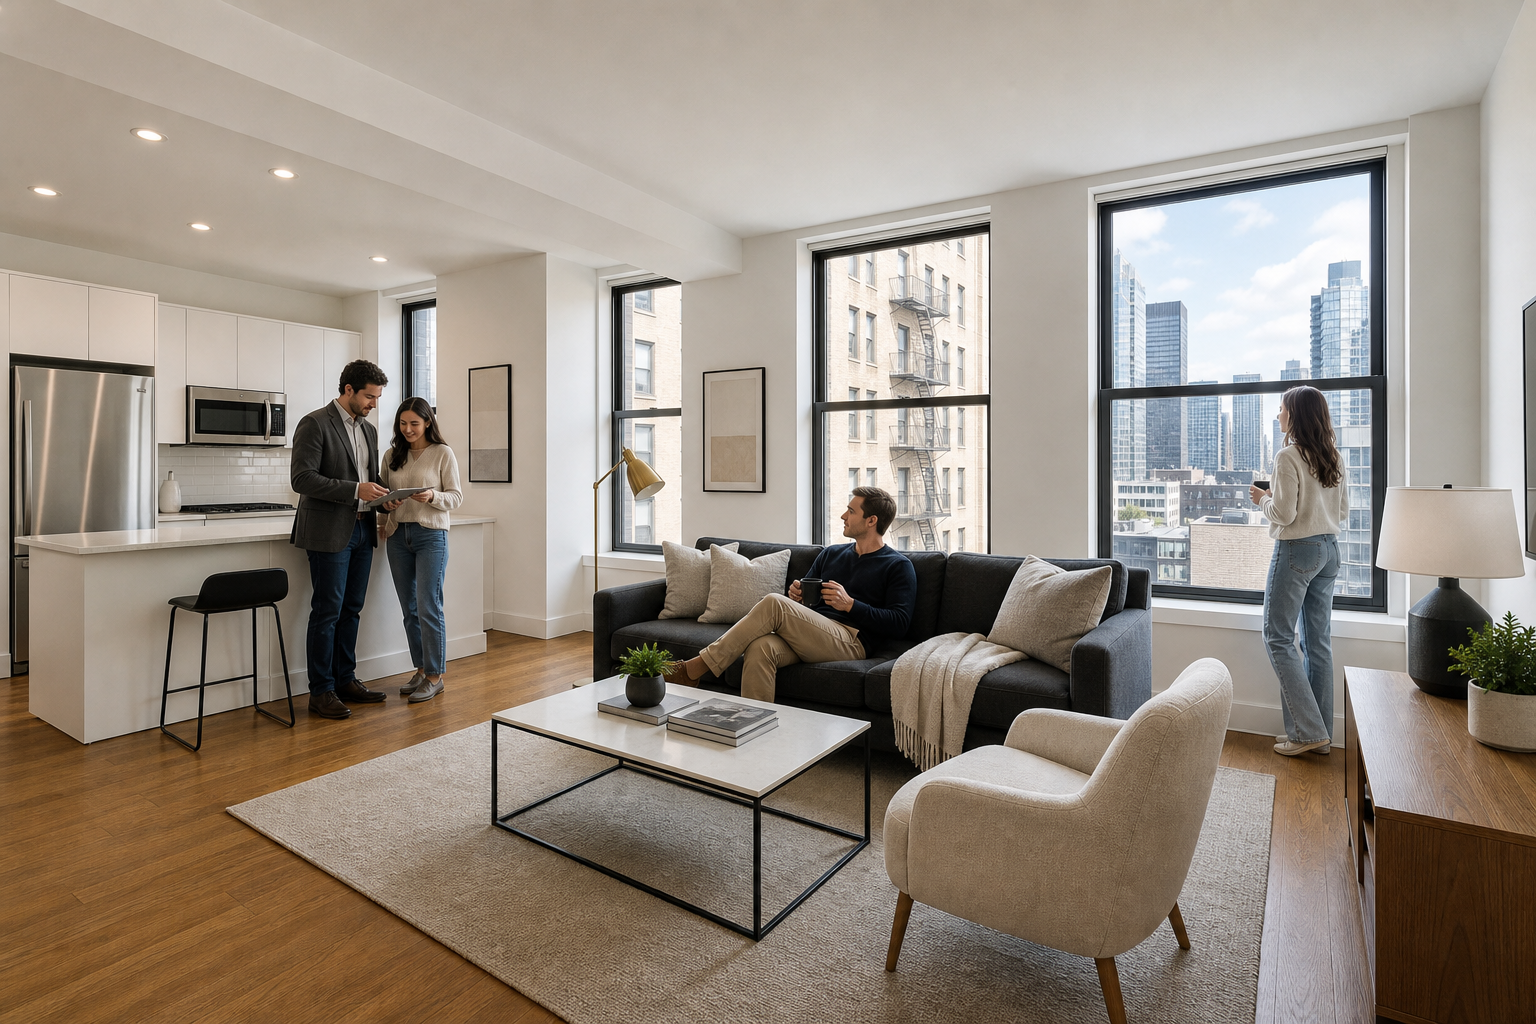
Additional sceneIllustrative lifestyle image
Take it on the shoot
Real estate room shot plan
- Front exterior and arrival
- Hallway and room connections
- Living spaces from useful, level positions
- Kitchen layout, storage and appliances
- Every bedroom and bathroom
- Utility, storage and working areas
- Garden, balcony, parking and outbuildings
- Important features shown first in context
- Originals retained beside any virtually staged images
Accuracy check: Do not alter boundaries, views, dimensions, condition, neighbouring structures or permanent fixtures in a factual listing image.
The process
- 01Walk the property and create a shot list.
- 02Clean, declutter, and make minor repairs.
- 03Plan the shoot around daylight and exterior conditions.
- 04Set a consistent camera height and exposure.
- 05Capture each main room from useful angles.
- 06Add exterior, feature, and location context.
- 07Edit the set consistently.
- 08Check accuracy, order, and usage rights.
01
Prepare for a buyer, not for daily life
Remove surface clutter, personal documents, excess family photographs, bins, pet items, and loose cables. Open curtains, clean windows and mirrors, replace failed bulbs, and make small repairs that will otherwise become the focal point of the image.
Keep enough furniture to explain scale and purpose. An entirely empty room may be harder to read, while an overfilled room hides circulation and floor area.
02
Use light that keeps the room believable
Photograph important rooms when they receive the most useful daylight. Avoid hard patches of sun when possible and turn on matching interior lights to support darker corners. Expose for the room while retaining some detail through windows.
Do not make every room unnaturally bright. A north-facing room and a sunlit kitchen can still belong to the same accurate set when colour and exposure are handled carefully.
03
Keep walls vertical and rooms in proportion
Hold the camera level at a consistent height that suits the property. Use a moderate wide lens and keep key furniture away from distorted edges. Move your position before widening the lens.
Photograph from a corner or doorway when it reveals useful depth, but do not hide awkward features behind the frame. A second angle can explain what one attractive view leaves out.
04
Follow a complete room order
Start with the exterior and arrival, then move through reception rooms, kitchen, bedrooms, bathrooms, utility space, garden, parking, and important outbuildings. For apartments, include the building entrance and relevant communal areas with permission.
Give the strongest rooms enough coverage while still showing every important space. Missing rooms create questions and can make the gallery feel selective.
05
Check the gallery against a buyer’s questions
Before leaving, walk through the draft gallery in the order a buyer will see it. For each space, ask what the first image explains and what remains uncertain. A second photograph earns its place when it answers a different question, not when it repeats the same flattering angle.
For example, a kitchen image from the doorway might show the worktops and window but not its connection to the dining area. Add a reverse view that shows the opening between them. In a loft bedroom, show the useful floor area and the sloping ceiling together; a closer view of fitted storage can follow, but should not replace the honest wide view. For a garden, show its relationship to the house and the visible boundary before choosing a detail of the seating area.
Make a short note of any room, connection or permanent feature that the gallery still fails to explain. Check the floor plan and listing details alongside the photographs, then return for a missing angle while the property is still ready for the shoot. These are illustrative shot decisions, not a substitute for checking the actual property and its marketing requirements.
06
Photograph features in context
A fireplace, original floor, fitted storage, view, extension, solar system, or garden office deserves a closer image, but first show where it sits in the room or property. Detail images work best after the wider evidence.
Use captions or listing copy for facts such as orientation, measurements, planning status, or inclusions. Do not ask the photograph to imply a claim it cannot establish.
07
Edit without altering the property offer
Straighten, correct exposure and colour, remove sensor dust, and produce consistent exports. Keep permanent damage, neighbouring structures, power lines, views, boundaries, room dimensions, and fixed features accurate.
If you use virtual staging, show or make available the original empty image and disclose the alteration clearly. Check local advertising rules and the requirements of the listing portal or professional body before publication.
Further reading
Common questions
Questions people ask before they start
What camera settings are best for real estate photography?
Use a low ISO, an aperture that keeps the room sharp, and a tripod when slower shutter speeds are needed. Exact settings depend on light and equipment, so judge the result rather than copying one fixed combination.
How wide should a real estate lens be?
Wide enough to explain the room without stretching furniture or changing apparent proportions. A moderate lens and a second angle are safer than an extreme single view.
Should real estate photos show every room?
Show every important room and feature unless privacy, safety, or the sales strategy provides a valid reason not to. Missing spaces should not be used to conceal material information.
About this guide
Written by the Instant Photoshoot Editorial Team
We create practical guidance for the people responsible for property and hospitality images. Our approach separates factual listing photography from the additional lifestyle and campaign scenes a marketing team may want to create.
Read how we create and review guides