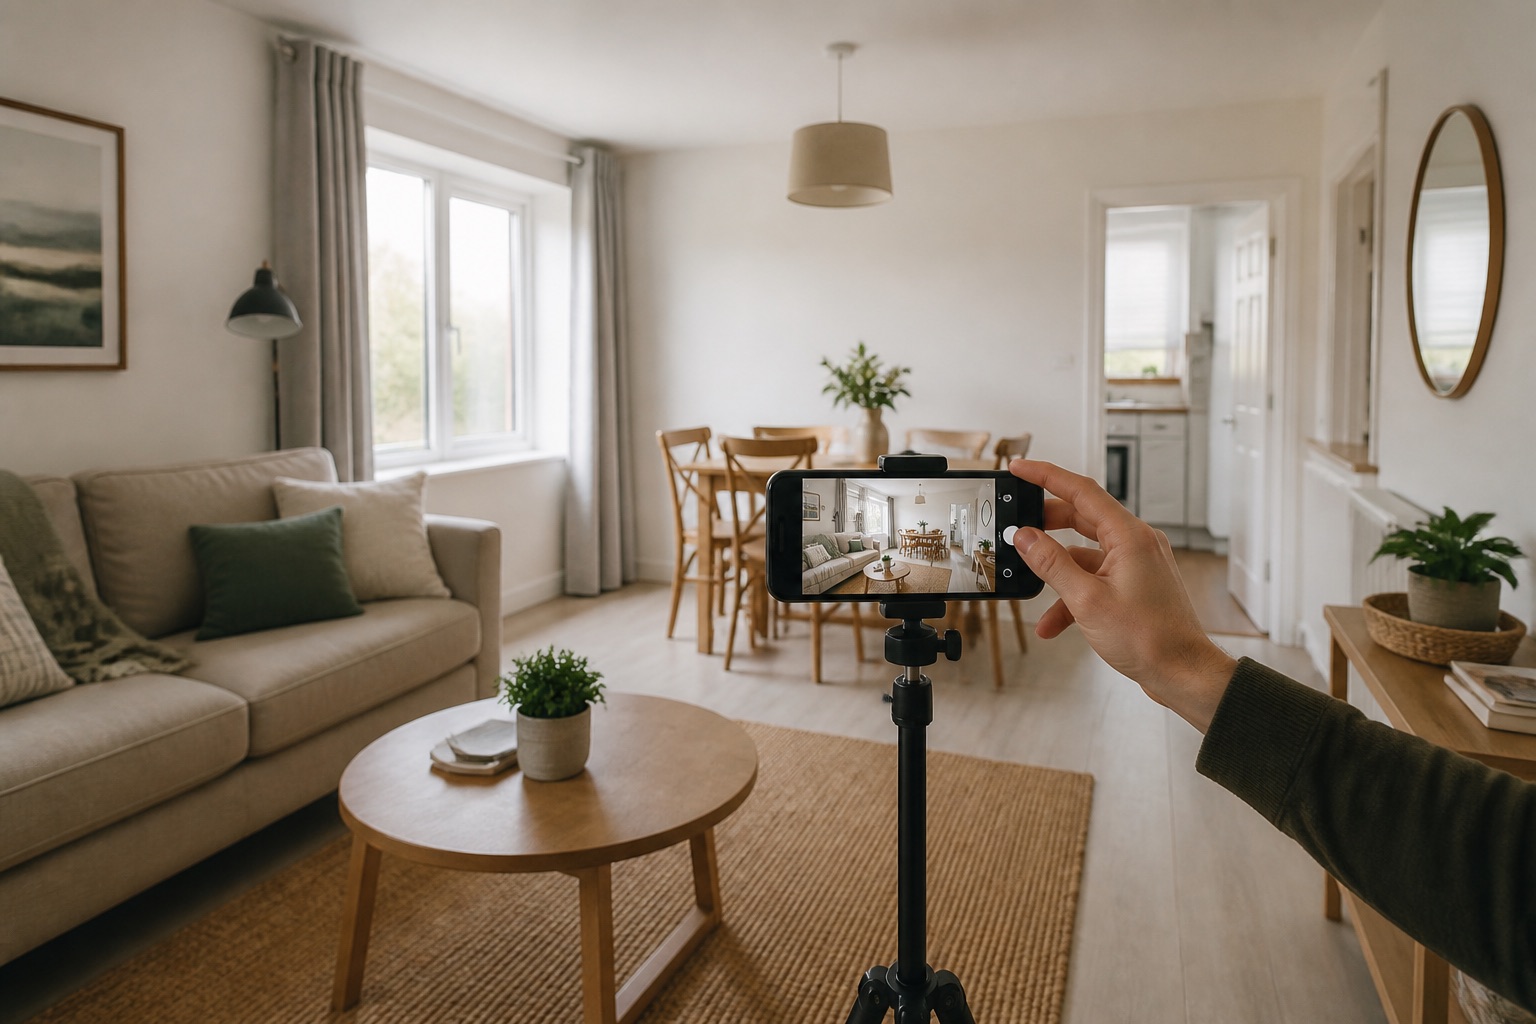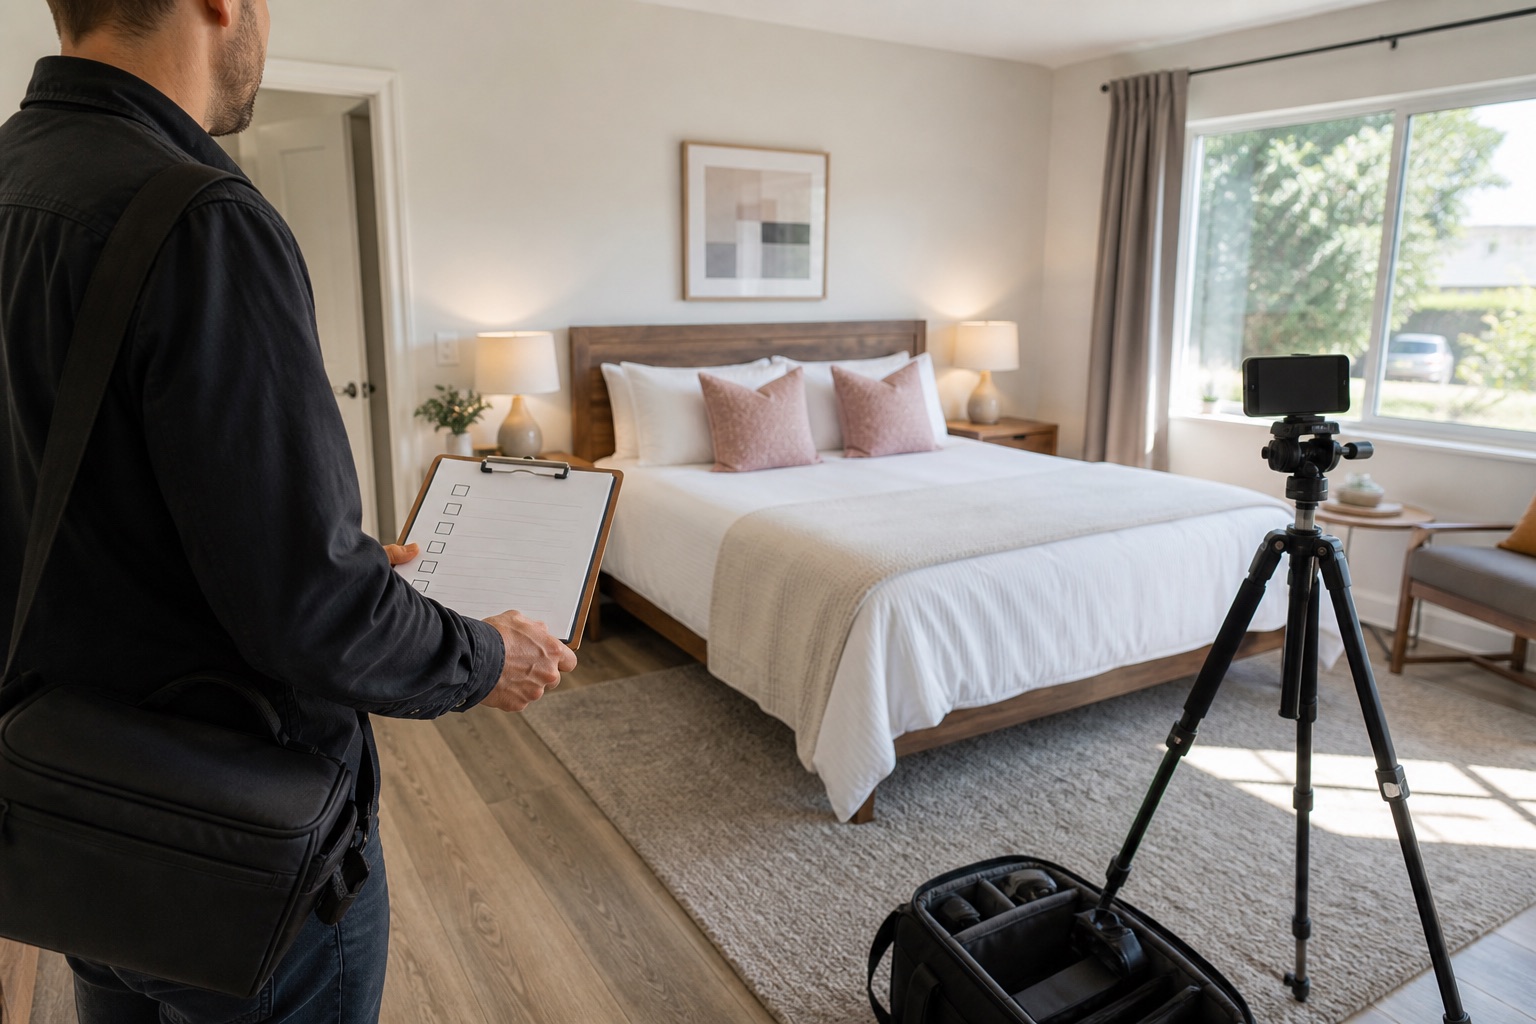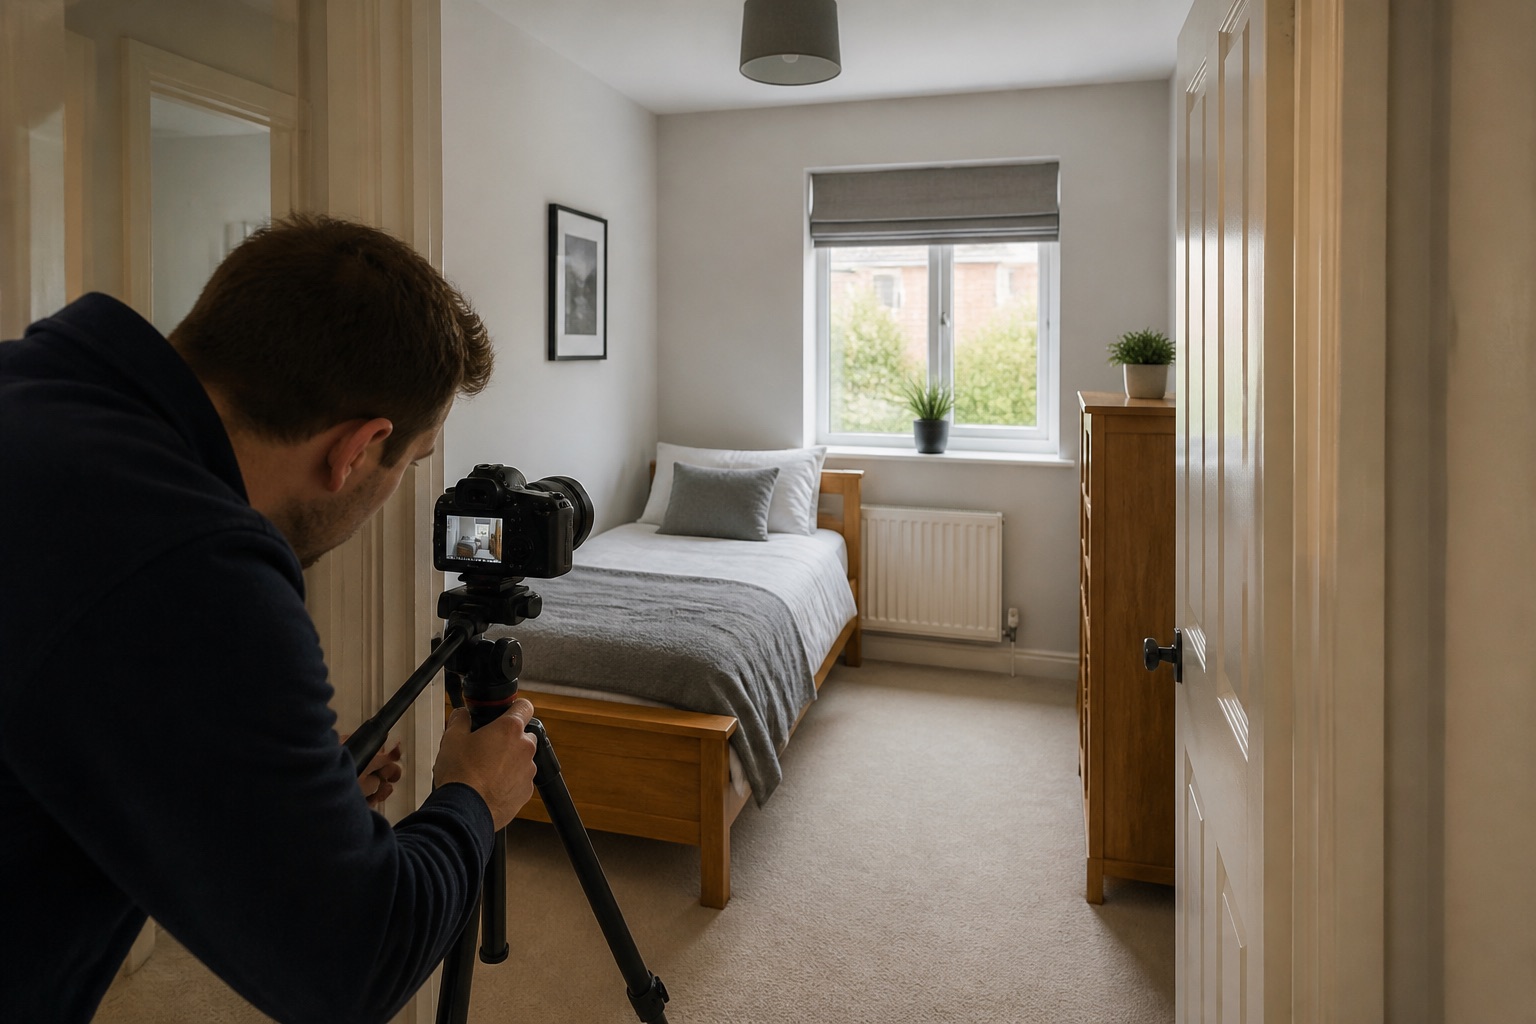
Small properties are not a photography problem. Confusing properties are. A compact studio can look calm and appealing when the images explain how it works and where everything belongs.
Resist the urge to make every wall disappear with the widest possible lens. Guests value accurate scale and a practical layout, especially when they are choosing a smaller place on purpose.
The short version
- Use moderate wide angles and level lines.
- Show how zones connect.
- Remove visual noise, not useful context.
- Include storage and converted sleeping setups.
The process
- 01Declutter every visible surface.
- 02Define the room zones.
- 03Choose two positions that explain the layout.
- 04Shoot at a moderate height with a level camera.
- 05Capture storage and furniture in use.
- 06Add captions that clarify scale and access.
01
Make the room easier to read before making it prettier
A small room feels cramped when objects compete for attention. Clear excess appliances, tangled cables, spare chairs, and clusters of decoration. Keep the things that explain the stay, such as a reading lamp, luggage rack, dining place, or workspace.
Arrange furniture so the walking route is visible. A guest should be able to understand how they move from entrance to bed, kitchen, bathroom, and window.
02
Choose a lens that respects the space
Use a standard lens or a moderate phone wide angle. An extreme lens may fit all four walls into the frame, but it also stretches furniture at the edges and changes the apparent depth of the room.
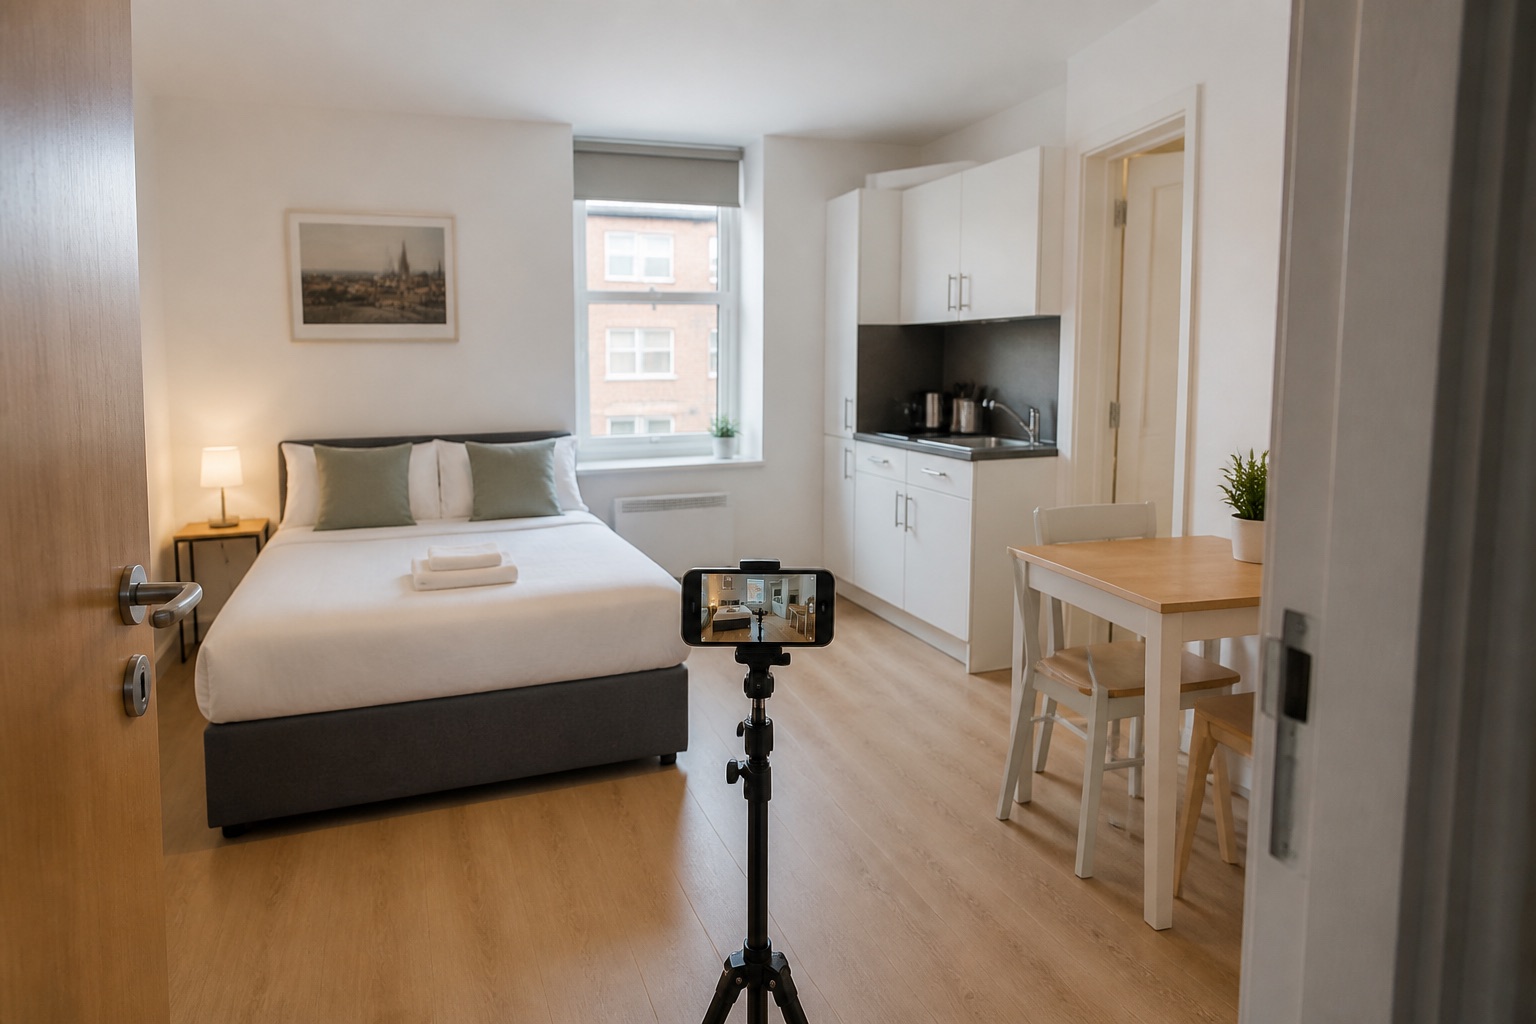
Step back into a doorway when you can. Keep the camera level and avoid pressing it against a wall, which often creates a distorted foreground. If the whole studio cannot fit honestly into one frame, use two connected views.
03
Photograph zones, not just rooms
In a studio, the sleeping, dining, cooking, and working areas may share one room. Capture an overall view that shows the relationship, then photograph each zone from a medium distance. This lets guests see both atmosphere and function.
If a table folds away or a sofa becomes a bed, show both setups. Put the images next to each other and explain the change in captions.
04
Use light to separate the space naturally
Open window coverings and photograph when light travels furthest into the room. Turn on lamps in darker corners, but keep brightness believable. Overexposing the windows may make the interior bright while removing an important sense of place.
Use light-coloured bedding and tidy surfaces if they already suit the property. Do not replace dark permanent features in editing simply to make the room appear larger.
05
Answer the practical questions small spaces raise
Show where luggage goes, whether there is hanging space, how close the bed is to the kitchen, and whether two people can sit at the table. Photograph the bathroom from a useful position and include the shower entrance.
These details may not be glamorous, but they attract guests who are comfortable with the trade-off. Accuracy filters out the wrong booking and helps the right guest feel confident.
Common questions
Questions people ask before they start
Should I use the widest lens for a small Airbnb?
Use a moderate wide lens only when it keeps furniture and walls looking natural. If objects stretch at the edges, move back or use two photographs instead.
How do I make a small Airbnb look bigger in photos?
Make it feel clearer rather than falsely bigger. Declutter, reveal walking routes, use good daylight, keep lines straight, and show how furniture and storage work.
Should I include room measurements?
Measurements can help when a room is unusually compact or when guests need to assess accessibility. Keep them accurate and place them in captions or the listing description.
About this guide
Written by the Instant Photoshoot Editorial Team
We create practical guidance for the people responsible for property and hospitality images. Our approach separates factual listing photography from the additional lifestyle and campaign scenes a marketing team may want to create.
Read how we create and review guides