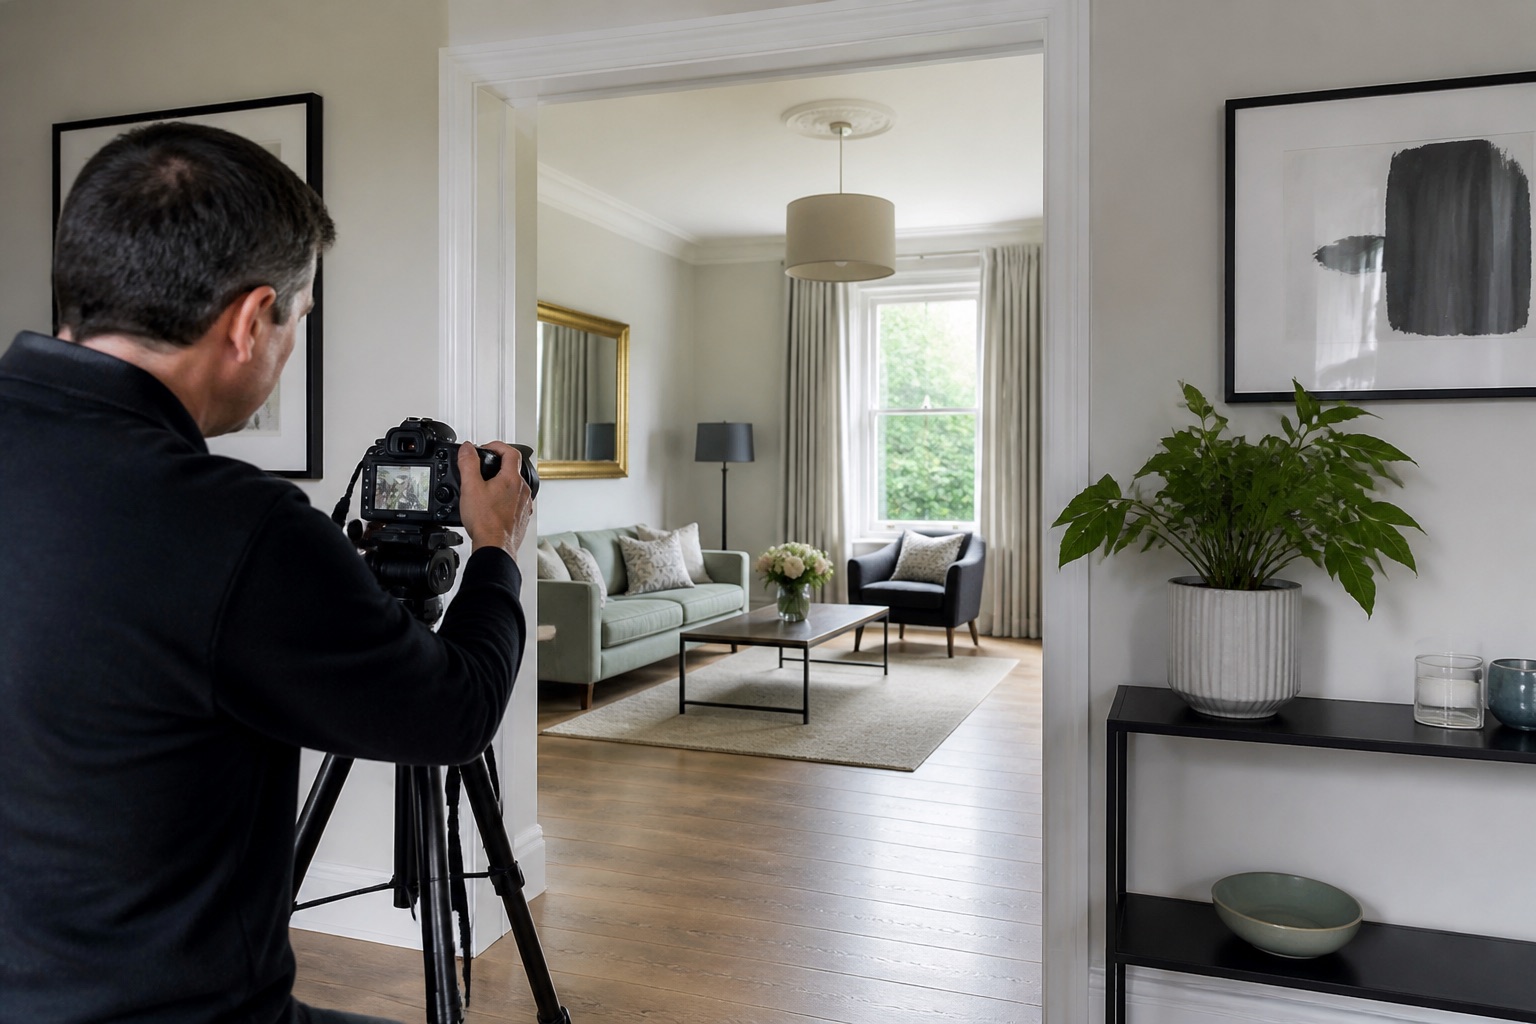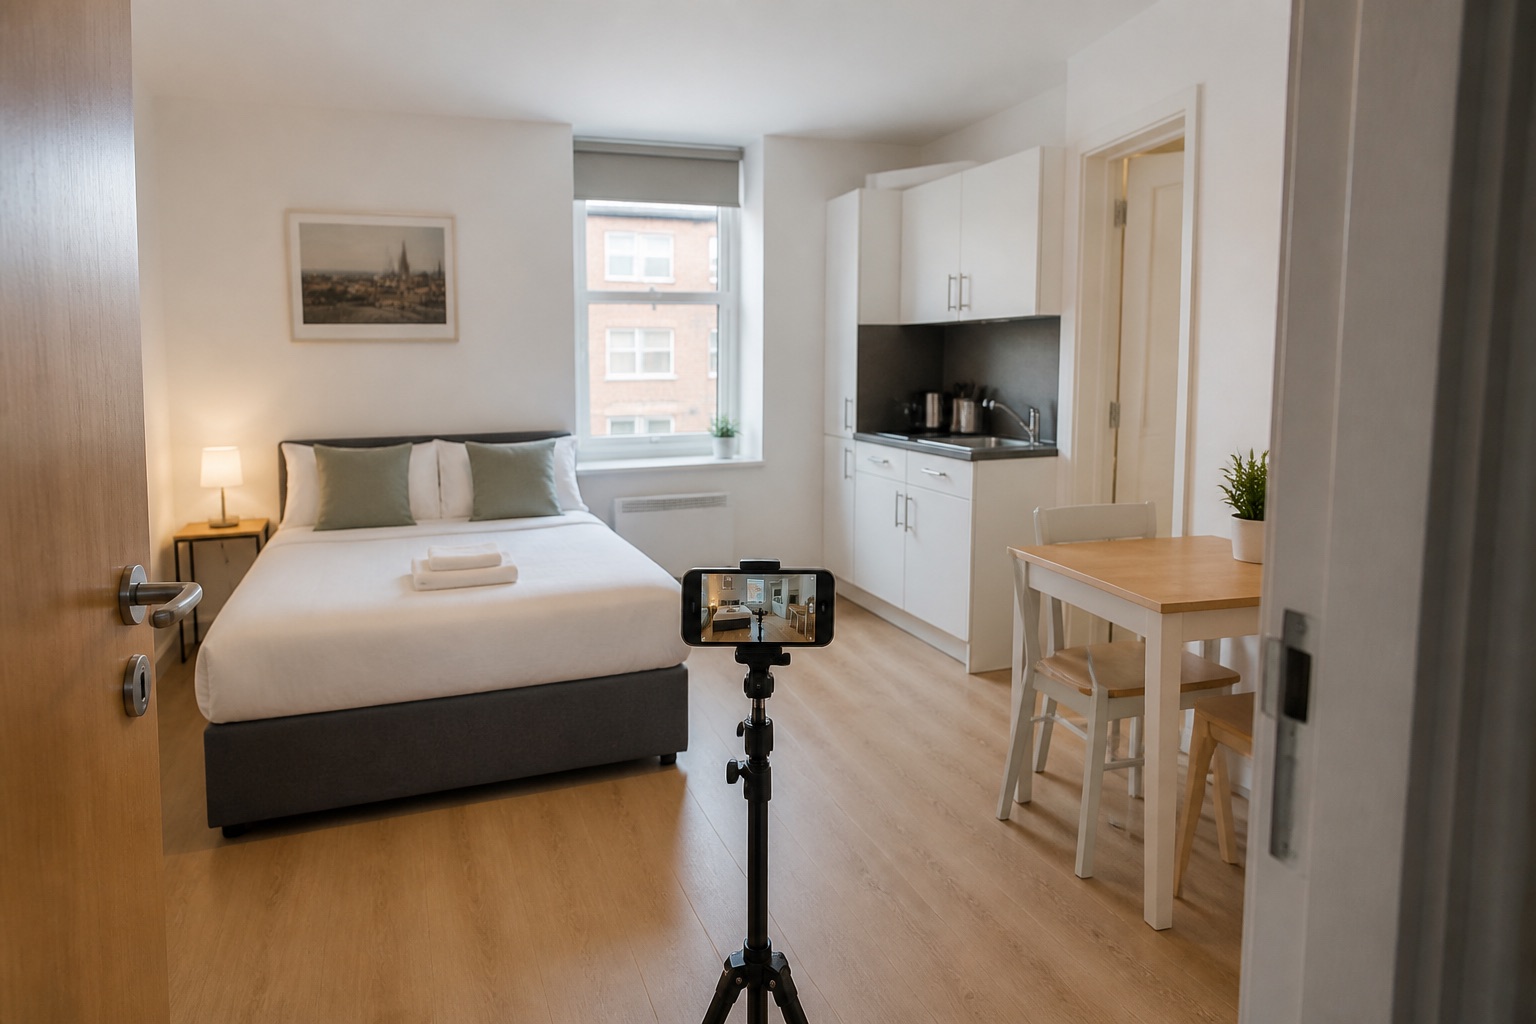
A small room does not need to look enormous. It needs to look understandable. Buyers can accept limited space when they know how it functions, what fits, and how it connects to the rest of the property.
The best small-room photographs reduce visual noise, keep proportions natural, and use more than one image when a single honest view cannot explain everything.
The short version
- Reduce clutter before increasing lens width.
- Show function and circulation.
- Use connected views when one frame cannot explain the room.
- Keep doors, furniture, and corners natural at the edges.
01
Stage around one clear purpose
Decide whether the space is a bedroom, office, nursery, dressing room, or storage room. A vague mixture of uses makes the floor area harder to judge. Keep furniture that proves the chosen purpose and remove pieces that block movement.
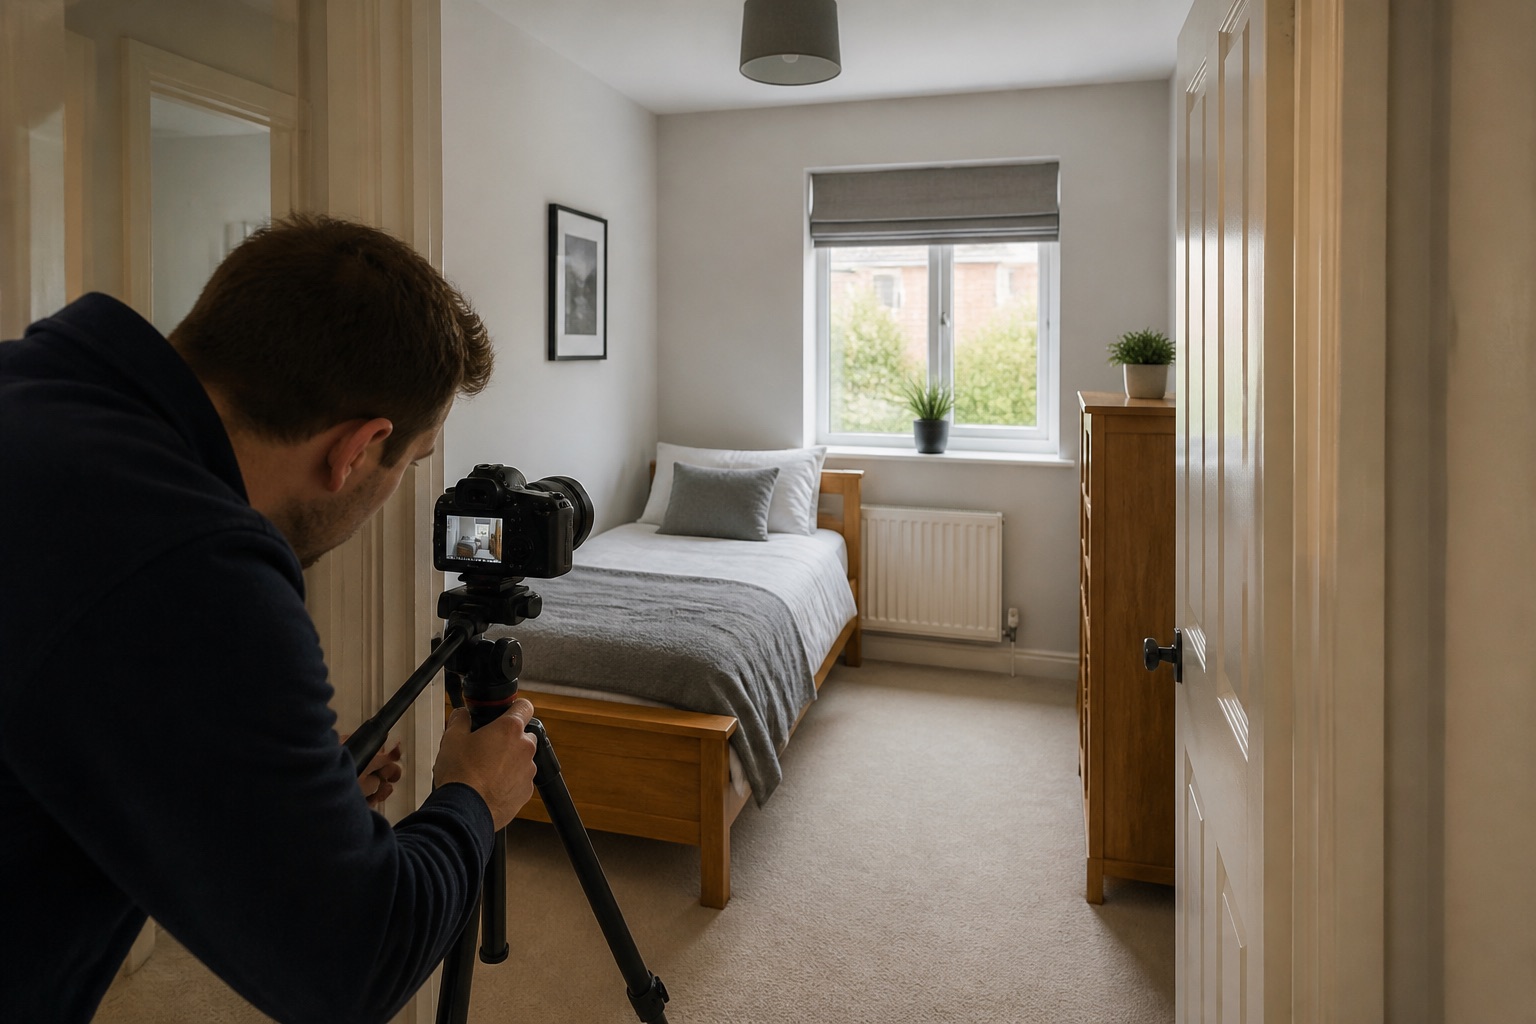
In a box room, one appropriately sized bed or desk can give scale. Do not substitute unusually small furniture purely to create a false impression.
02
Find the position before choosing the lens
Test the doorway, opposite corner, and a position just inside the room. Look for the angle that shows the window, main furniture, and entry relationship. Only then select the lens or phone setting.
Keep the camera level. Avoid placing a bed or door frame at the extreme edge of a wide lens, where it will stretch. If you cannot fit the room naturally, make a pair of images.
03
Use a two-view explanation
The first image should establish the main use and overall shape. The second can reverse the direction to show storage, entrance, or a feature hidden behind the camera. Place the two together in the listing order.
For a compact bathroom, one diagonal view may show the layout and a second straight view can explain the shower or bath. Do not rely on a mirror reflection to make the space appear doubled.
04
Let light reveal edges and floor area
Open window coverings and remove objects that cast messy shadows. Turn on a lamp only when it improves a dark corner without creating mixed colour. Keep some visible floor and wall junctions so the room boundaries remain clear.
Do not lift shadows so aggressively that the room loses depth. Gentle contrast helps the viewer read shape.
05
Use measurements and floor plans as partners
Photography explains appearance. A measured floor plan explains dimensions and connections. Use both rather than forcing the photograph to carry every fact.
If a room has restricted head height, a narrow access point, or an unusual layout, show it clearly and provide the relevant measurement in the listing materials.
Common questions
Questions people ask before they start
How do estate agents make small rooms look bigger?
The responsible approach is to make the room cleaner, brighter, and easier to understand, not to disguise its size. Use level framing, sensible furniture, a moderate wide lens, and accurate floor plans.
Should a small room be photographed from the doorway?
Often, but not automatically. Use the doorway when it reveals the layout without blocking the frame. A position just inside the room or a second angle may work better.
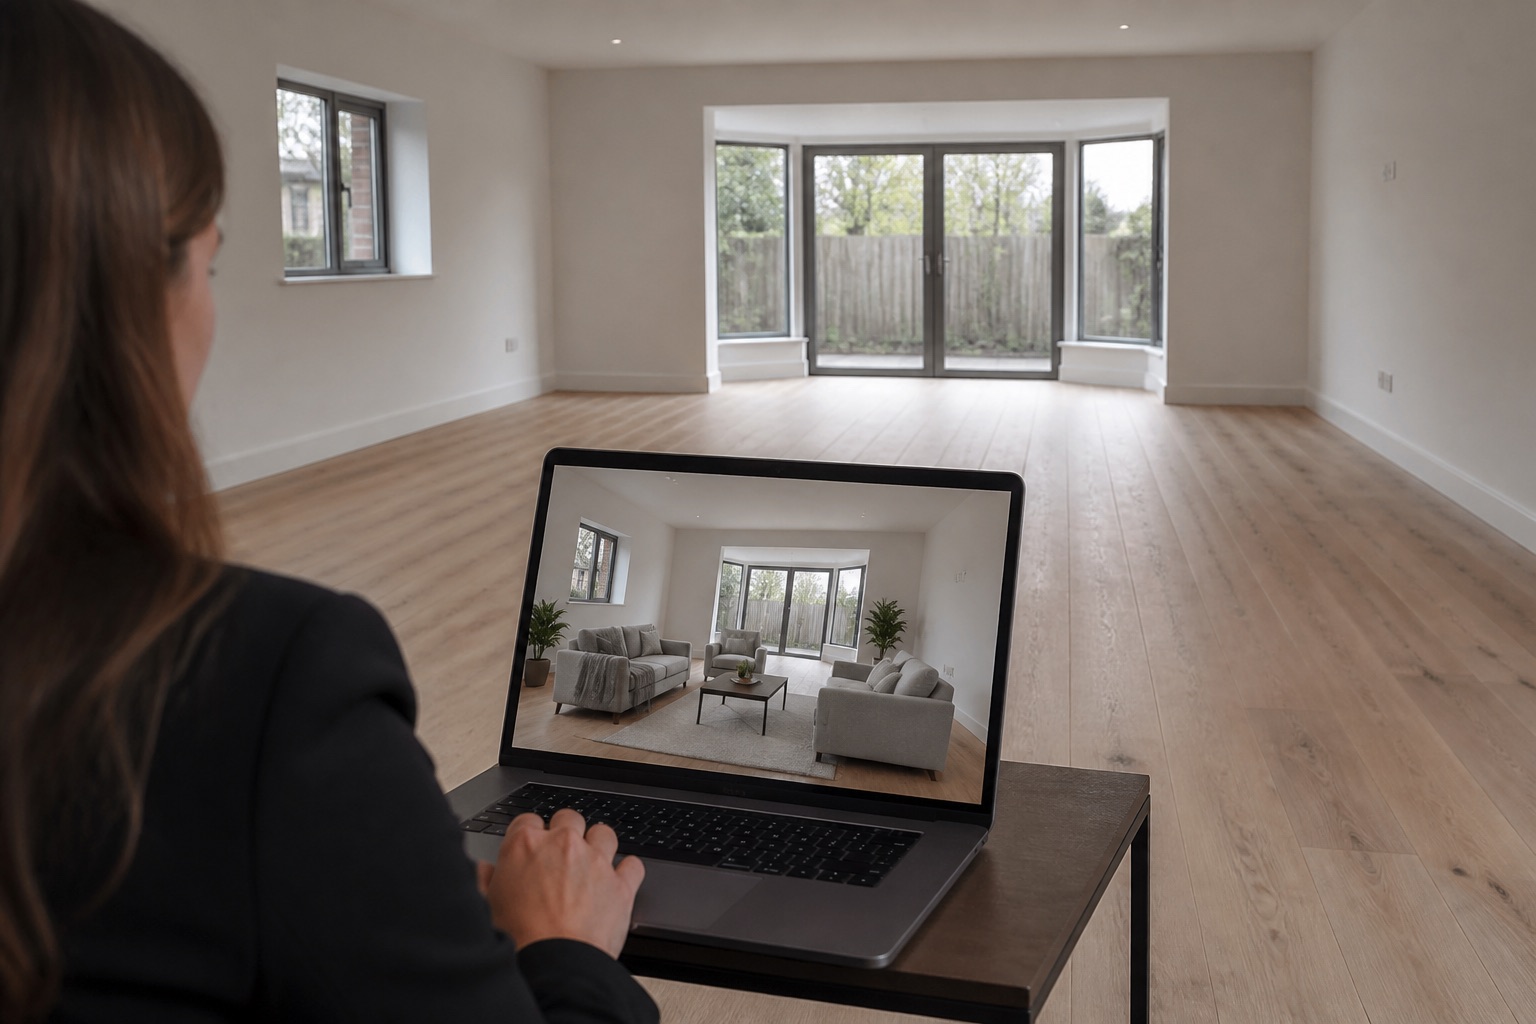
Can I remove furniture digitally from a small room?
Digital decluttering can change how buyers understand the space. If you use it, keep the original available, disclose the alteration, and follow local advertising and portal rules.
About this guide
Written by the Instant Photoshoot Editorial Team
We create practical guidance for the people responsible for property and hospitality images. Our approach separates factual listing photography from the additional lifestyle and campaign scenes a marketing team may want to create.
Read how we create and review guides