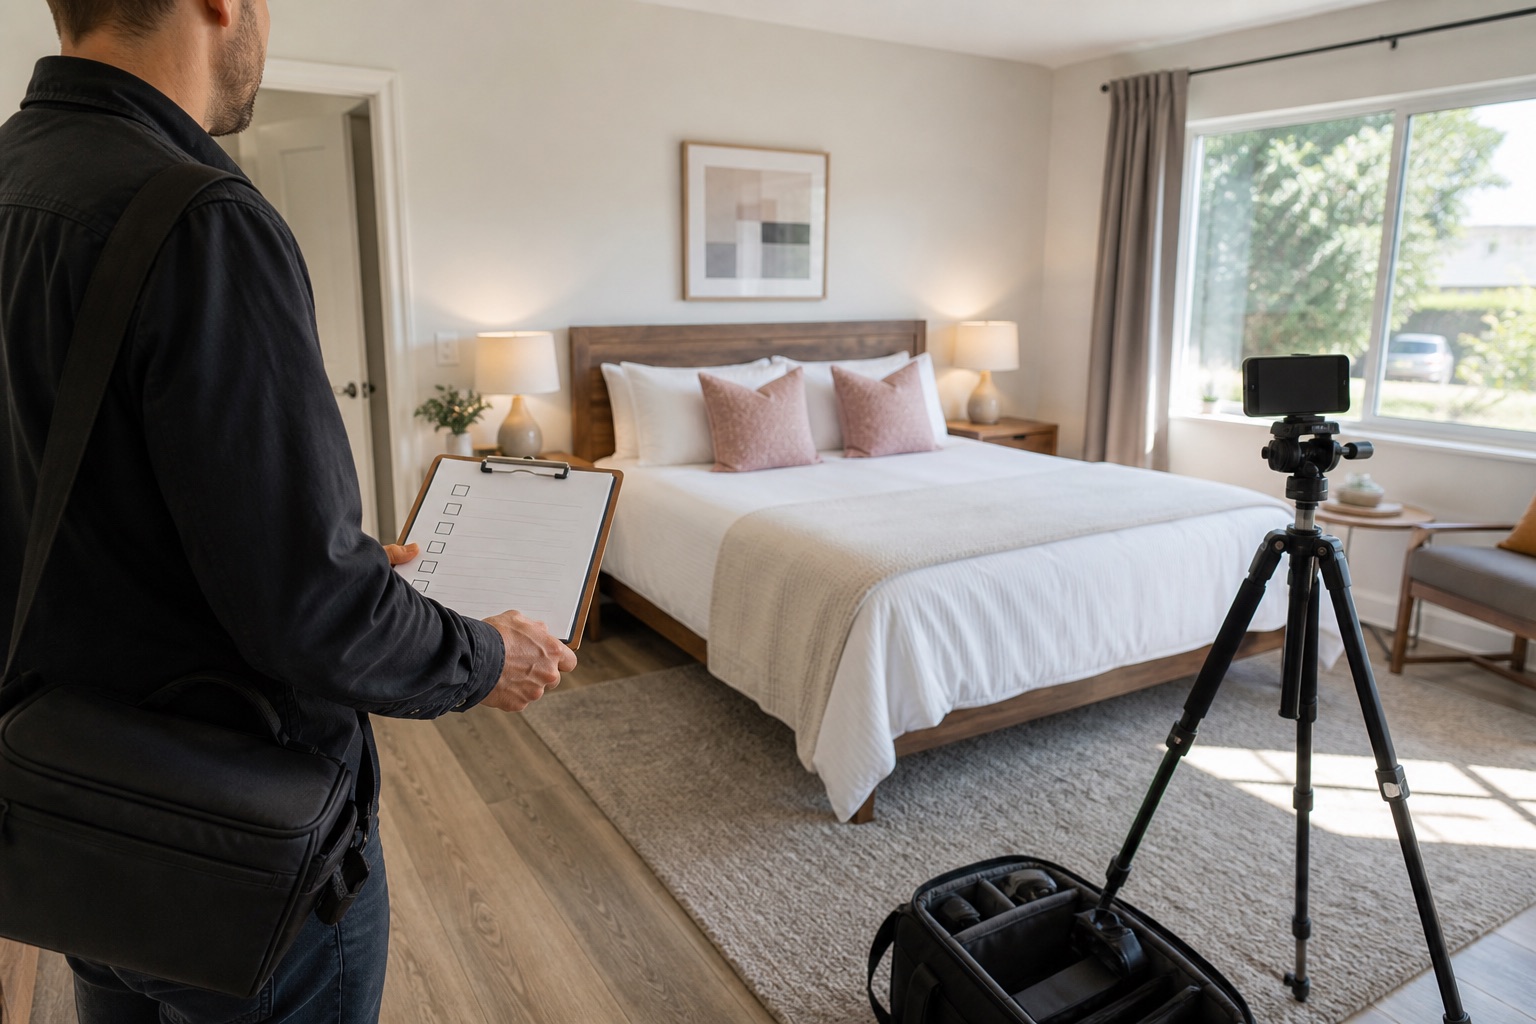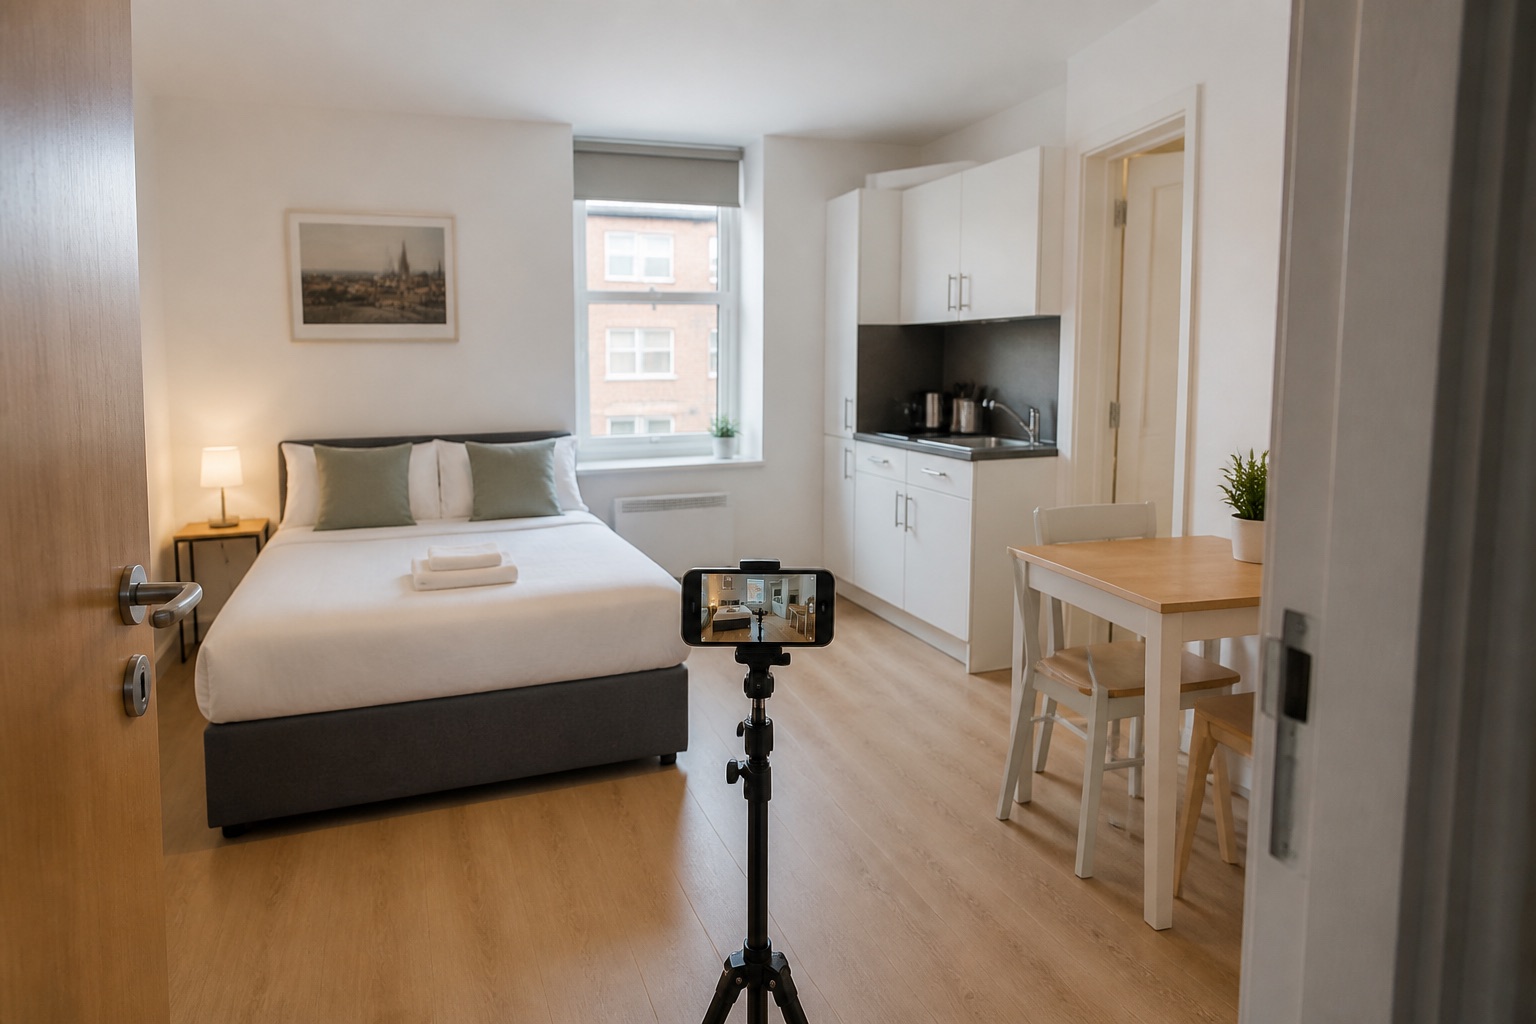
For an Airbnb home listing, shoot in landscape and upload photos that are at least 1024 x 683 pixels. Airbnb says a larger image is better when you have one. You do not need an expensive camera, but you do need a clean space, good daylight, steady framing, and a plan that covers the whole guest experience.
The goal is not to make the property look larger or more polished than it is. The goal is to help a guest understand it at a glance and imagine a comfortable stay.
The short version
- Use landscape images at least 1024 x 683 pixels.
- Keep the camera level and close to chest height.
- Capture wide, medium, and detail views.
- Show every room and make the first five images count.
- Edit for consistency, not transformation.
Visual field guide
Build the gallery in three distances
A useful rental gallery does not repeat the same wide angle. Use one frame to explain the room, one to explain how it works, and one to preserve the details a guest will remember.
Wide
Explain the room
Show the main furniture, window and route through the space in one level frame.
Working view
Explain the stay
Show the dining setup, workspace, storage or connection to the next room.
Detail
Give it character
Capture one real feature that supports the experience without hiding the wider context.
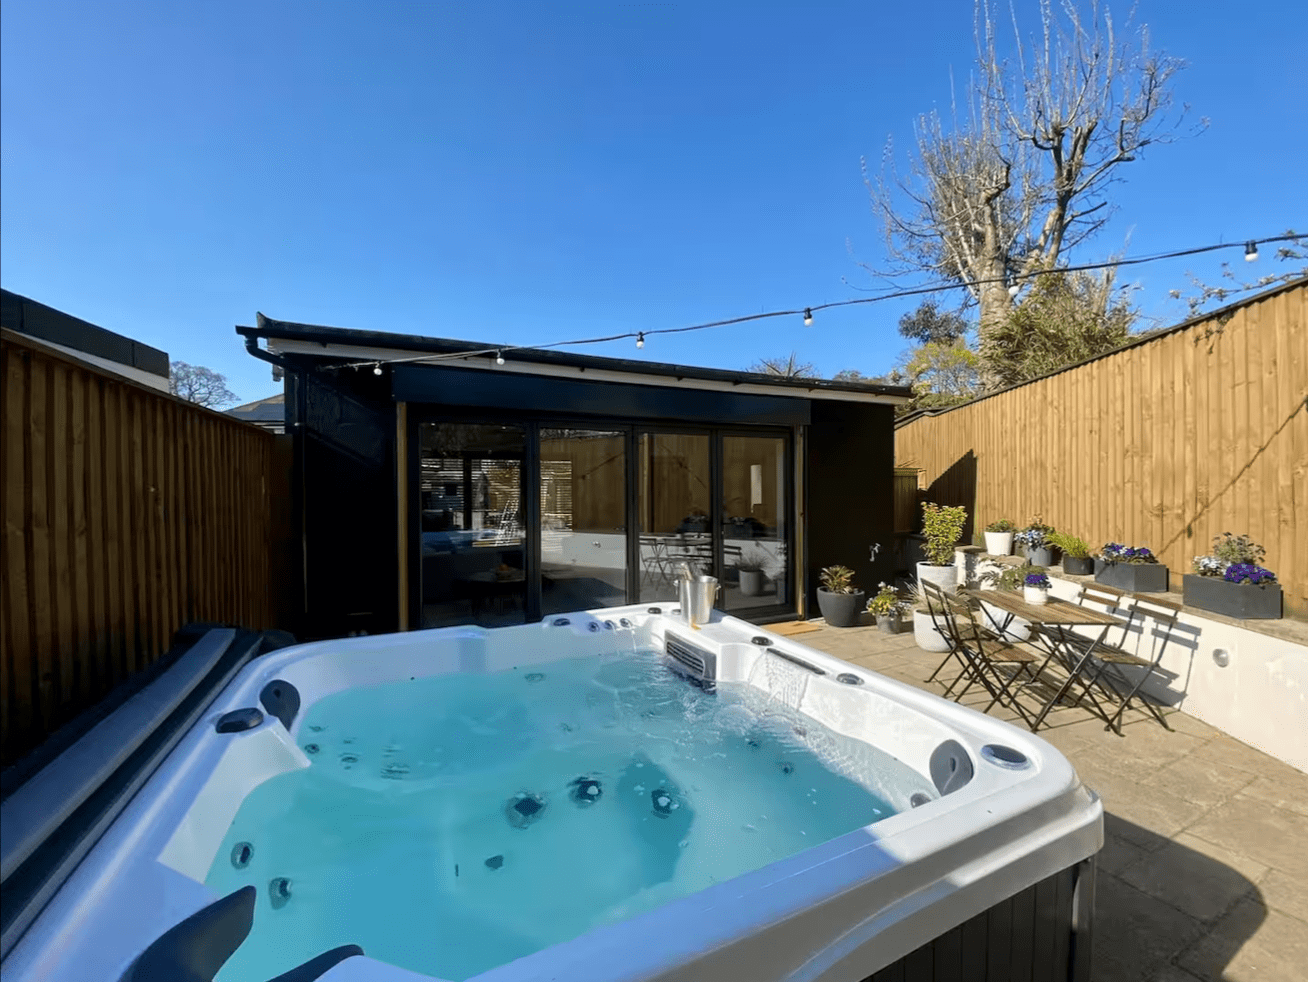
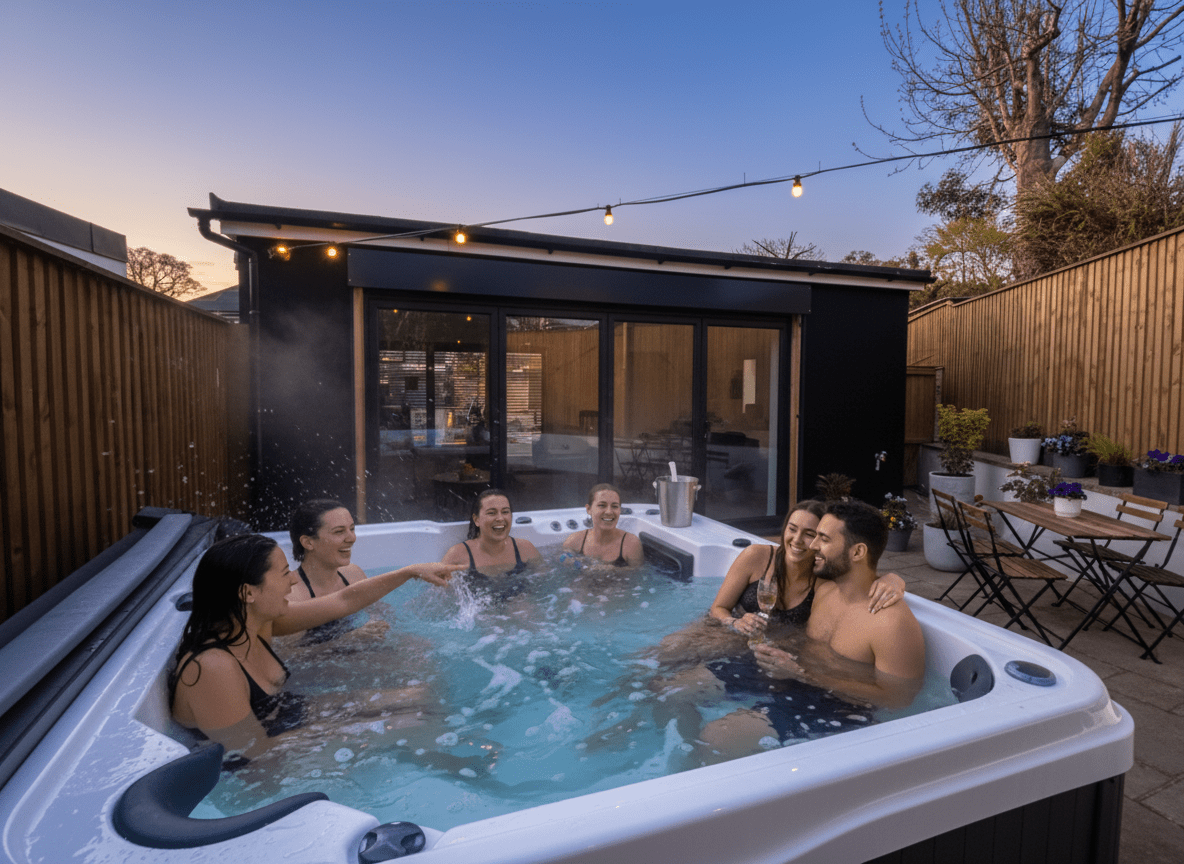
SourceFactual source photo
Additional sceneIllustrative campaign scene
Take it on the shoot
Airbnb room shot plan
- Exterior and arrival
- Main living space from two useful positions
- Every sleeping space and the bed layout
- Kitchen, dining setup and key appliances
- Every bathroom
- Workspace, parking and access details
- Outdoor and shared areas
- One honest detail from each important room
- A final check for reflections, clutter and misleading angles
Accuracy check: Do not remove permanent features, stretch room proportions or imply amenities that are not available to the guest.
The process
- 01Plan a room-by-room shot list.
- 02Clean, declutter, and stage lightly.
- 03Choose the best daylight window.
- 04Set up the phone or camera.
- 05Shoot each room from two useful positions.
- 06Capture amenities and practical details.
- 07Edit a consistent final set.
- 08Export landscape images at 1024 x 683 pixels or larger.
- 09Upload, order, and caption the gallery.
01
Prepare the property before you touch the camera
Clean surfaces, straighten bedding, hide cleaning supplies, empty bins, and remove loose cables. Open curtains and blinds. Replace dead bulbs and make sure lamps in the same room have similar colour temperatures.
Stage lightly. A tray on the bed or twelve cushions on the sofa can make a room look like a set rather than somewhere to stay. A book by a chair, a folded towel, or a coffee setup can show use without creating clutter.
- Check mirrors for reflections.
- Remove personal documents and family photographs.
- Close toilet lids and smooth shower curtains.
- Park cars away from the exterior if possible.
- Photograph the property before guests disturb the setup.
02
Choose soft daylight and turn off the flash
Find the time when each important room receives bright but indirect light. Harsh midday sun can burn out windows and create hard patches on the floor. A bright overcast day is often easier than a perfectly sunny one.
Turn on practical lamps if they make the room feel warmer, but avoid relying on flash. A phone flash creates flat light, sharp shadows, and bright reflections. If a room is still dark, steady the phone on a tripod and let it use a slower exposure.
03
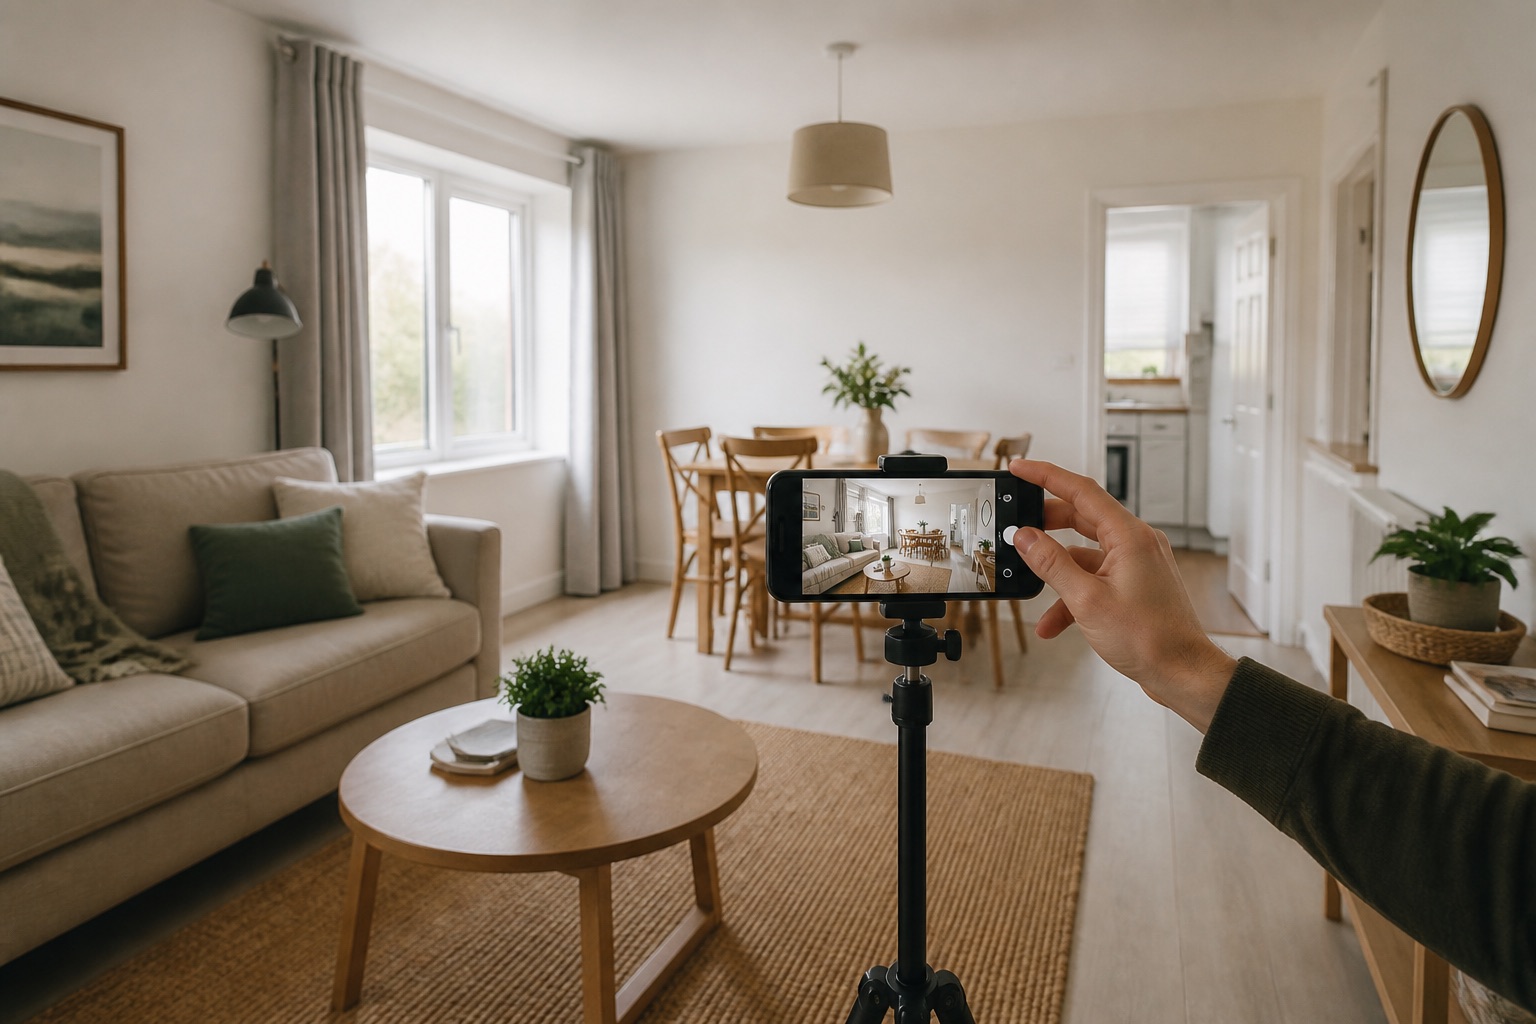
Set up your phone for clean, level photographs
Clean the lens first. Switch on grid lines, use the standard rear camera, and choose the highest practical resolution. Avoid digital zoom. If your phone has a wide lens, use it carefully and keep important furniture away from the stretched edges.
Hold the camera around chest height and keep vertical lines vertical. Tilting upwards makes walls fall away from the viewer. Tilting downwards exaggerates the floor and can make furniture look oddly small.
04
Use the right Airbnb photo size and orientation
Airbnb currently tells home hosts to use landscape photos that are at least 1024 x 683 pixels. Treat that as the minimum, not a target to shrink every image towards. Upload the largest clean version you have because a larger original gives the listing more room to resize and crop the photograph for different screens.
Do not enlarge a small, soft image just to reach the minimum dimensions. Reshoot or return to the original file instead. Keep the room, bed, view, or other main subject away from the extreme edges so the image still reads clearly when it appears as a search thumbnail or in the gallery.
- Minimum resolution: 1024 x 683 pixels
- Orientation: landscape for home listing galleries
- File choice: use a high-quality original or export
- Framing: leave safe space around the main subject
- Quality check: reject blur, heavy compression, and stretched images
Check a photo before you upload it
Choose a finished photo to check its pixel dimensions and orientation. It stays in your browser and is not sent to us.
This checks size and orientation only. Review sharpness, cropping and factual accuracy yourself.
05
Use a repeatable three-shot pattern
For each important room, take one wide establishing view, one second angle that explains the layout, and one closer image of a useful or distinctive feature. Bedrooms might include the whole bed, the view towards storage or the door, and the bedside setup. Kitchens might include the full workspace, the dining connection, and the coffee or cooking equipment.
Take several careful versions while you are in position. Small changes in height and framing are easier to compare later than to recreate after the room has been reset.
06
Photograph information as well as atmosphere
Guests need evidence. Show the entrance, parking, stairs, workspace, storage, bathroom, outdoor boundary, and sleeping arrangements. If the sofa converts into a bed, photograph it in both states. If the view is a selling point, show it from the place a guest will actually see it.
Accessibility features deserve clear wide and close views. Photograph thresholds, steps, doorways, grab rails, and the route into the property without using a dramatic angle that hides scale.
07
Edit gently and keep the full gallery consistent
Straighten lines, correct exposure, reduce distracting highlights, and make small colour adjustments. Apply the same general look across the set so one room does not appear blue and the next orange.
Do not stretch a room, replace a view, remove permanent defects, or add an amenity that is not there. A useful edit helps the camera match what the eye saw. It does not rewrite the property.
08
Keep, edit or reshoot: review a room before uploading
Open your photographs at full size, then shrink them to phone-sized thumbnails. The first view reveals blur and editing artefacts; the second tells you whether someone can understand the room quickly. Judge each photograph by the information it adds, not how much time you spent taking it.
Consider this illustrative review of a bedroom set. It is a decision-making example, not a customer case study or a claim about booking results.
- Keep: a sharp, level view that shows the whole bed and the route to the door. It explains the sleeping space without making the room look larger.
- Edit: a clear second angle with a slight colour cast. Correct the white balance and compare the bedding and walls with the room itself.
- Reshoot: a window-facing frame in which the bed is too dark to see. Try a softer daylight window and adjust exposure before taking it again.
- Replace: a near-duplicate wide shot when the gallery still has no photograph of storage, the bathroom or the entrance. Use that position to answer a missing question.
09
Upload and arrange the Airbnb photo tour
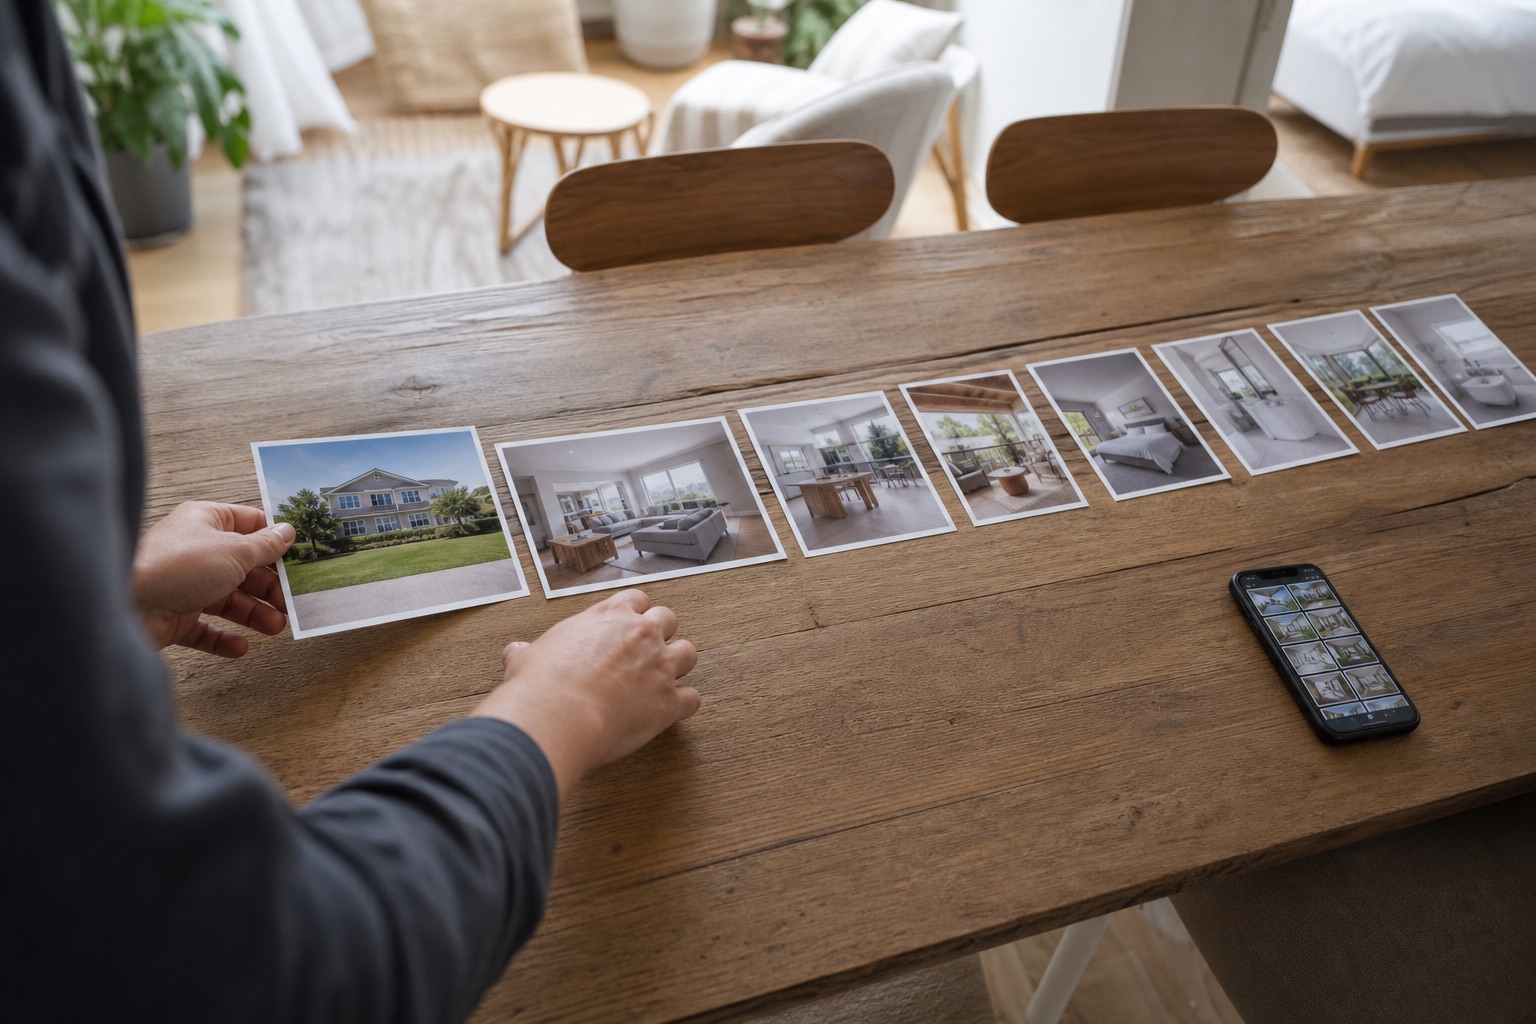
Airbnb recommends including at least one photograph of every room or space so each can appear in the photo tour. Assign images to the right rooms, add factual descriptions where they clarify a feature, and remove near-duplicates that do not add information.
The first five photos receive the most prominent placement on the listing, and the first image becomes the large cover image shown in search. Use those opening positions for different reasons to book, then arrange the remaining images in a logical walk through the property.
- Choose one clear, representative cover photo.
- Use the first five positions for different spaces or benefits.
- Include every guest-accessible room and important amenity.
- Group additional angles with the room they explain.
- Preview the finished order on a phone before publishing.
Further reading
Common questions
Questions people ask before they start
Can I take good Airbnb photos with a phone?
Yes. A recent phone can produce strong listing photos when the lens is clean, the room is well lit, the camera is held level, and the final images are exported at high resolution.
What size should Airbnb photos be?
Airbnb says home listing photos should be at least 1024 x 683 pixels and that a bigger photo is better when one is available. Use a sharp landscape original rather than enlarging a small image.
Should Airbnb photos be horizontal or vertical?
Use horizontal photographs for the main home listing gallery. Airbnb says photos in search results are displayed in landscape, so vertical images do not showcase the space as well.
What file format should I use for Airbnb photos?
Airbnb's public home-listing guidance focuses on minimum resolution and landscape orientation rather than naming one required format. A high-quality JPEG is a practical choice for normal photographs unless the current upload screen asks for a different format.
How do I stop Airbnb cropping an important part of a photo?
Airbnb may resize or crop images for different placements, so leave space around the main subject and preview the cover and opening gallery on both desktop and mobile. Avoid placing essential details at the extreme edges.
How many angles should I take of each room?
Two clear room views plus one useful detail is a good starting point. Add more only when they explain a feature, layout, or amenity that the other images do not show.
About this guide
Written by the Instant Photoshoot Editorial Team
We create practical guidance for the people responsible for property and hospitality images. Our approach separates factual listing photography from the additional lifestyle and campaign scenes a marketing team may want to create.
Read how we create and review guides