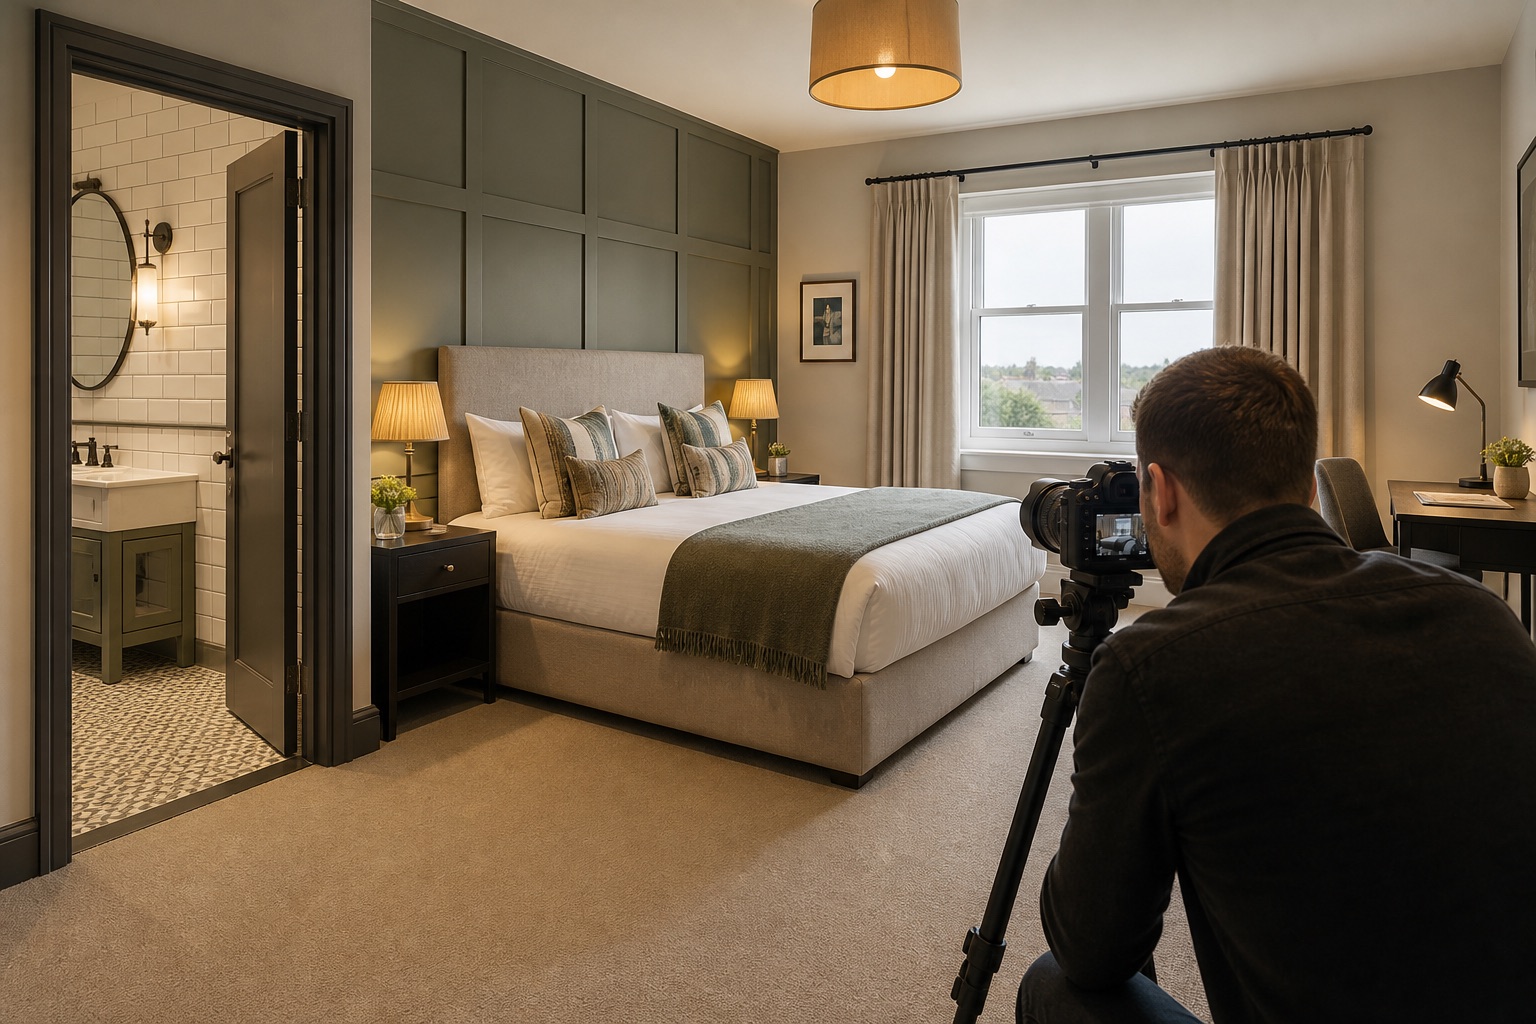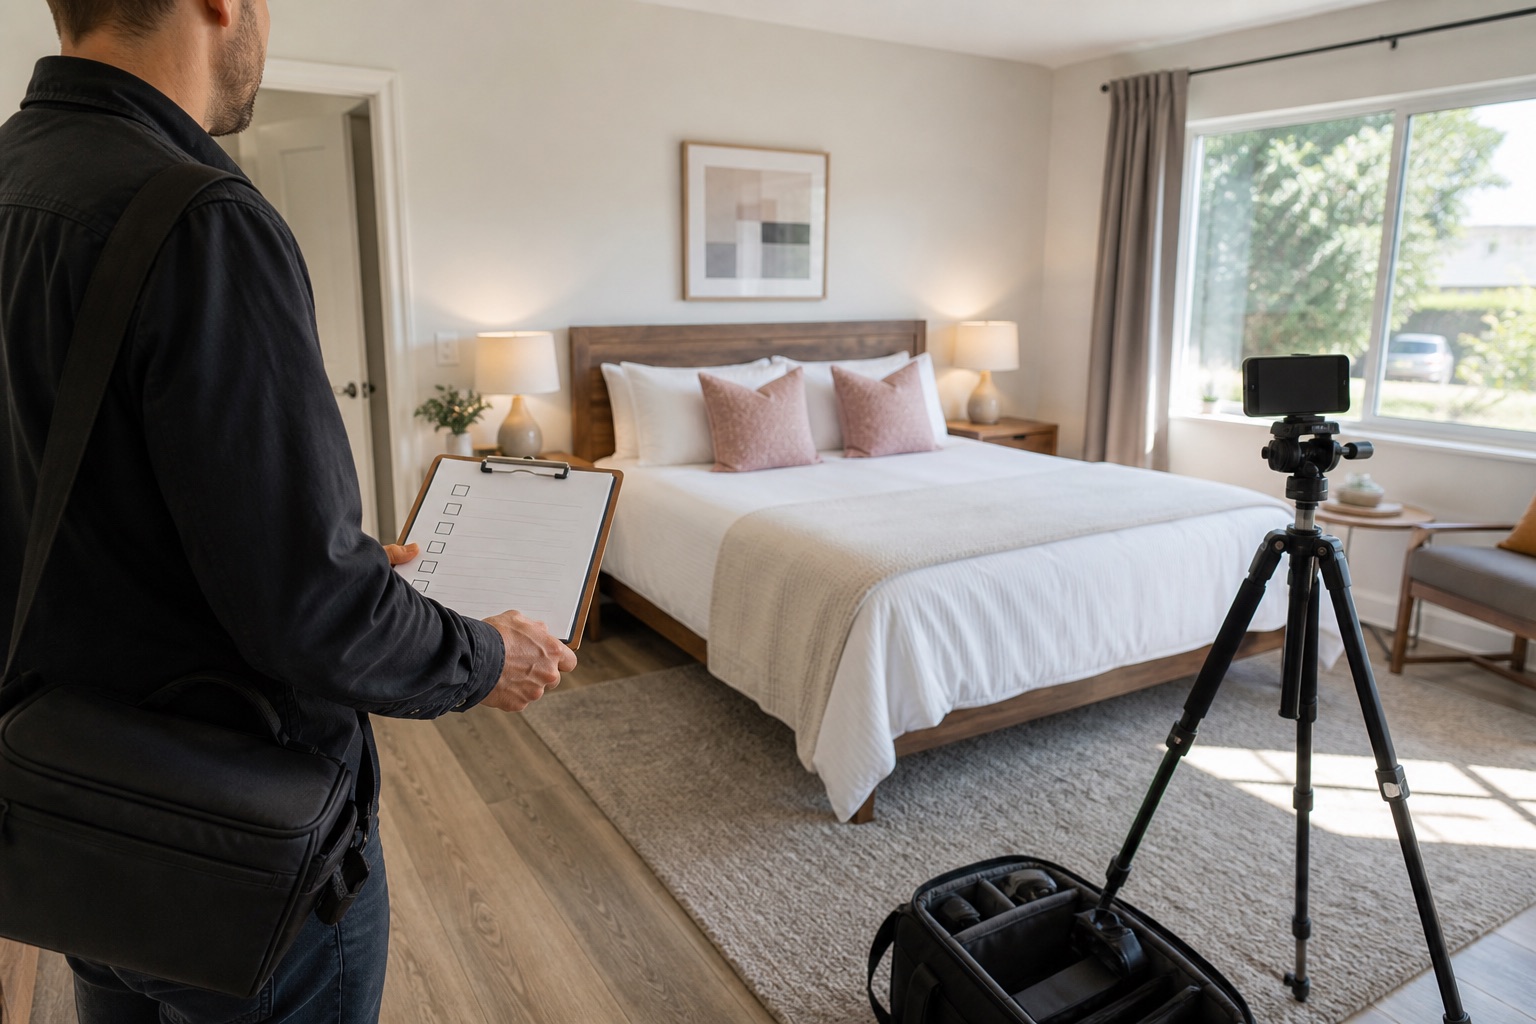
For each room category you sell, photograph the full bedroom, the bed from more than one angle, the bathroom, the view and any feature that changes what a guest will receive. Include the floor, doorways and access details where they help someone judge the layout. A beautiful bed photograph alone cannot answer those questions.
Use the list below once for each active category. Mark the factual images first, then add details and campaign variations after the room has been documented accurately.
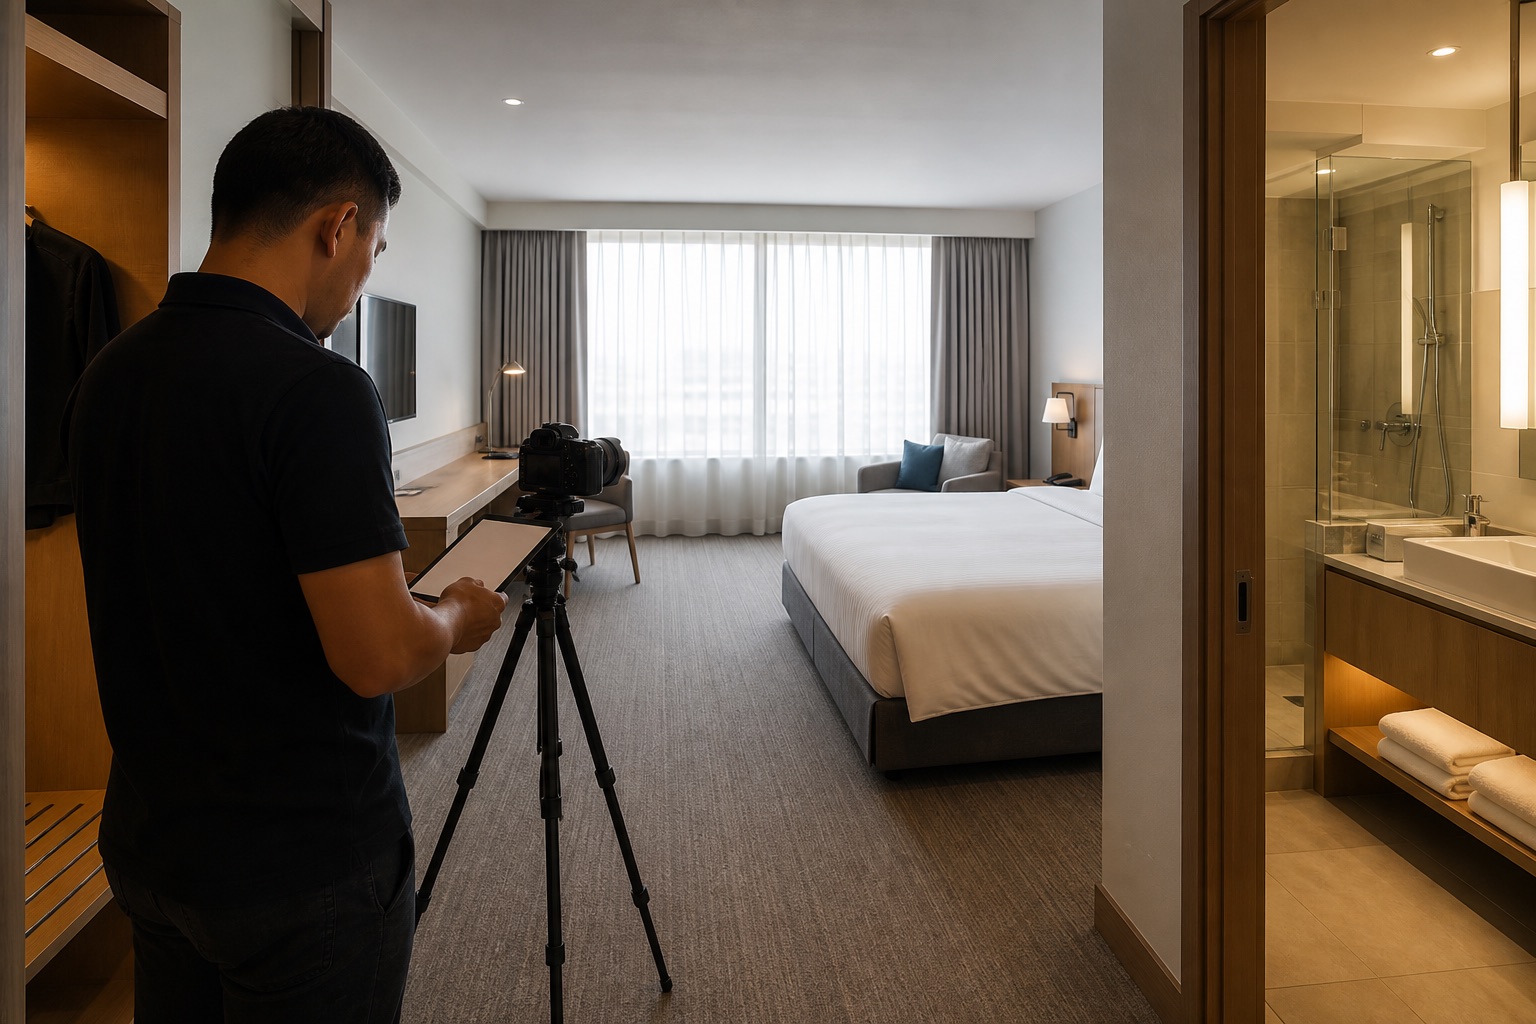
The short version
- Repeat the core list for every room category.
- Show both the room and the route through it.
- Document category differences clearly.
- Capture horizontal and vertical options while the room is ready.
01
Core bedroom coverage
Begin with a clean establishing view from near the entrance, then a reverse or diagonal angle that explains the window, seating, and circulation. Keep the full bed visible and include enough floor to judge space.
- Full room from entrance side
- Bed and both bedside areas
- Room looking back towards entrance
- Desk or dressing area
- Seating and table
- Wardrobe and luggage storage
- Connecting door when relevant
02
Bathroom coverage
Show the bathroom as a room, not a collection of toiletries. Use one wide view for layout and separate images for the shower, bath, vanity, and accessibility features when they cannot be understood in the wide frame.
- Full bathroom layout
- Shower entrance and controls
- Bath and surrounding space
- Vanity and mirror
- Toilet position where useful
- Robes, towels, and provided amenities
- Accessible rails, seat, and turning space
03
View, windows, and outdoor space
Photograph the real view from a normal standing or seated position. Balance the exposure so both room and view retain detail. If a balcony is bookable, show its floor area, furniture, boundary, and outlook rather than only a tight horizon image.
- View from inside the room
- Window and seating relationship
- Balcony or terrace in full
- Balcony furniture at real capacity
- Day and evening variation when useful
04
Details that separate the category
Identify why this room costs more or serves a different guest. Photograph the larger work area, extra bed, kitchenette, accessible route, lounge section, premium view, or upgraded bathroom clearly.
Avoid spending time on decorative close-ups until the category difference is documented. Flowers and taps do not help a guest compare a standard king with a junior suite.
05
Example: check three room categories separately
Suppose your booking site sells a Standard King, a Junior Suite and an Accessible King. Make a separate shot record for each category, with the room number, category name and the features that the booking description promises. Do not reuse the Standard King gallery for the other two simply because the beds look alike.
For the Standard King, confirm the whole room, both sides of the bed, bathroom, view and storage. For the Junior Suite, add a frame that shows how the seating area relates to the bed, plus the feature that makes the category distinct. For the Accessible King, document the actual route from the entrance, doorways, floor transitions and fitted bathroom features. Check those images and captions with the team responsible for accessibility information before publication. This is a planning example, not a claim about any particular hotel.
- Record the room number and category on the shot record.
- Tick off the common bedroom and bathroom views for that category.
- List the bookable features that must be visible.
- Ask an operations reviewer to confirm the images match the category before they are distributed.
06
Technical and delivery variations
For the strongest setups, capture wide horizontal, tighter horizontal, and vertical compositions. Leave clean space in selected frames for responsive copy, but do not rely on cropping a single file for every use.
Record the exact room number and category for each set. After editing, verify the files with revenue and operations teams before distribution.
Further reading
Common questions
Questions people ask before they start
Do hotels need photos of every room?
Hotels should photograph every room category and any materially different variation. Photographing every individual room is unnecessary when rooms within the category are genuinely consistent.
Should the toilet be visible in hotel bathroom photos?
The gallery should explain the bathroom layout honestly. A separate toilet or unusual arrangement should be clear, even if the toilet is not the focal point of the main image.
What height should hotel rooms be photographed from?
Use a height that keeps vertical lines straight and furniture proportions natural, often around chest height. Adjust slightly for the room rather than applying one fixed number everywhere.
About this guide
Written by the Instant Photoshoot Editorial Team
We create practical guidance for the people responsible for property and hospitality images. Our approach separates factual listing photography from the additional lifestyle and campaign scenes a marketing team may want to create.
Read how we create and review guides