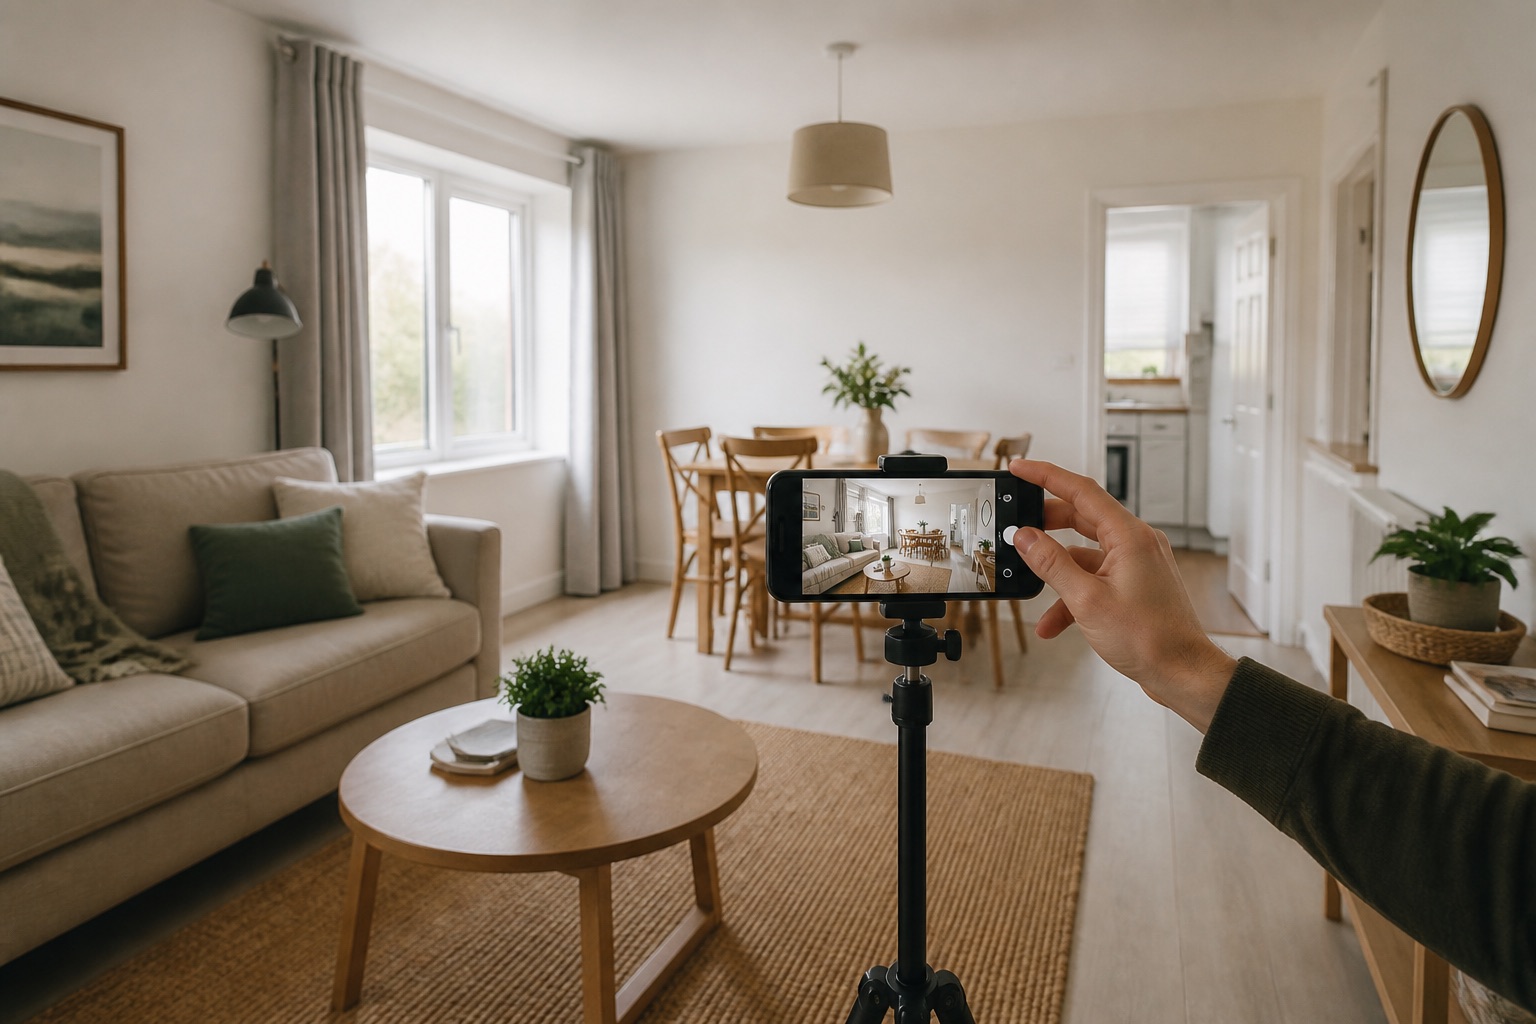
A stronger Airbnb listing is usually the result of many small, honest improvements rather than one dramatic rewrite. Guests want to understand the space quickly, picture the stay, and feel confident that the property will match what they see when they arrive.
Start with the parts of the page that shape a first impression: the cover photo, the opening group of images, the title, and the clearest reasons to choose your place. Then work through the practical details that prevent uncertainty, such as sleeping arrangements, access, parking, stairs, and what is genuinely private or shared.
The short version
- Lead with the clearest reason to book, not simply the widest room.
- Show every guest-accessible space and explain anything a photograph cannot.
- Keep the title, amenities, captions, and images consistent with one another.
- Refresh the listing whenever the property or the guest experience changes.
The process
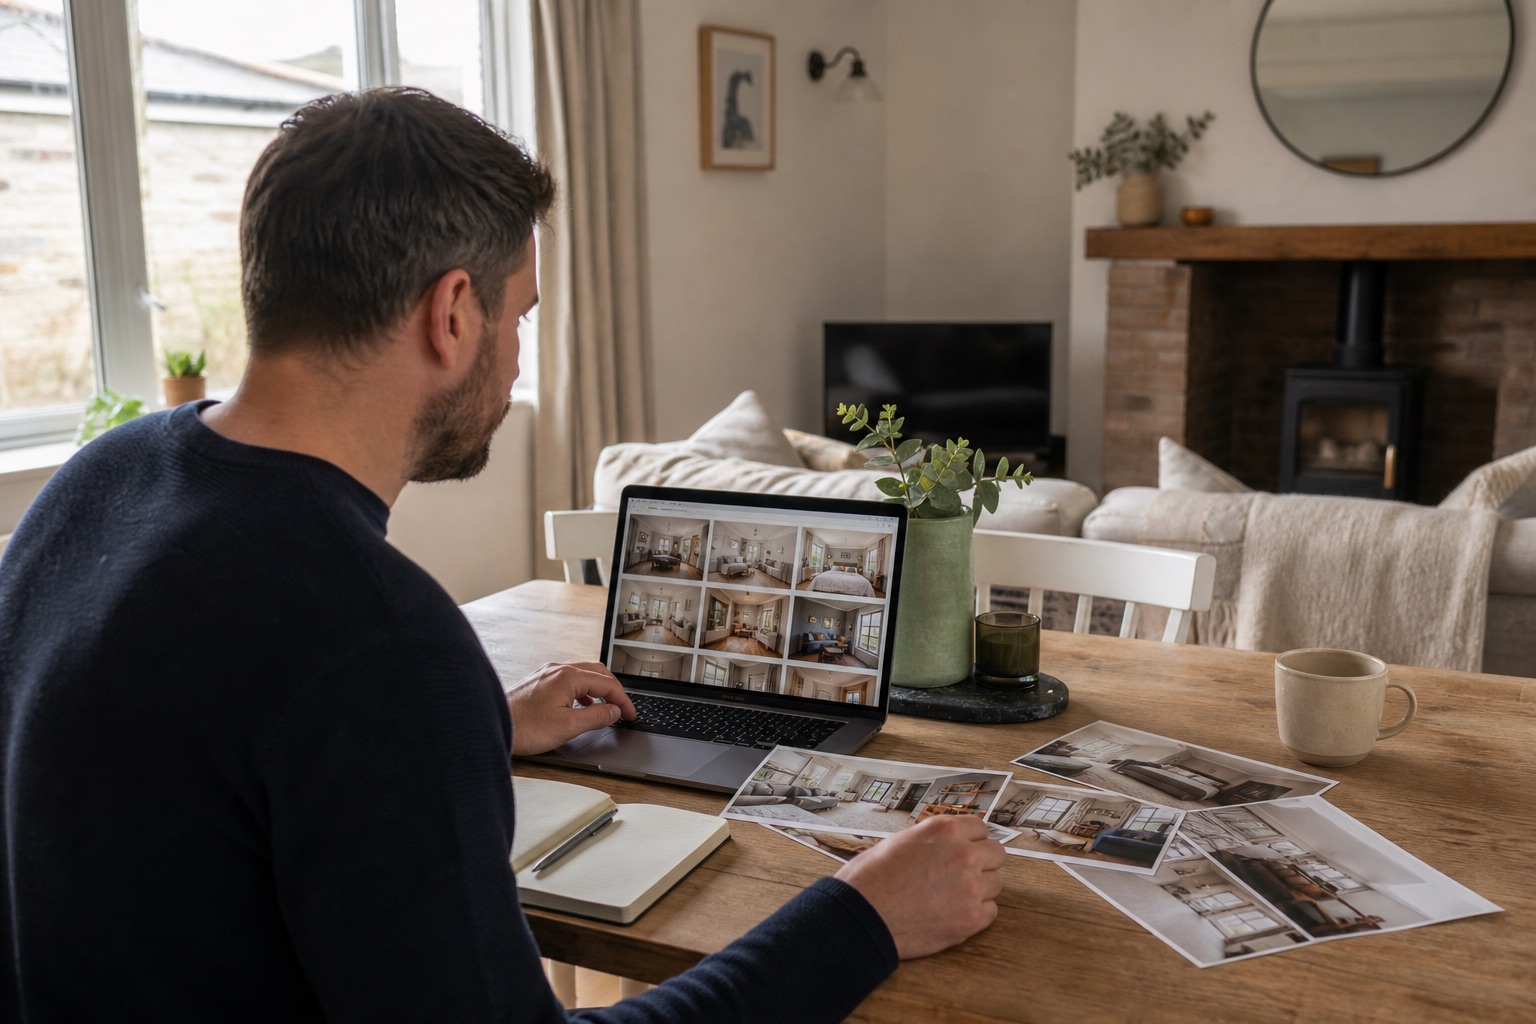
- 01Review your listing as if you have never seen the property.
- 02Choose one clear booking reason and make it visible immediately.
- 03Replace weak or repetitive photographs.
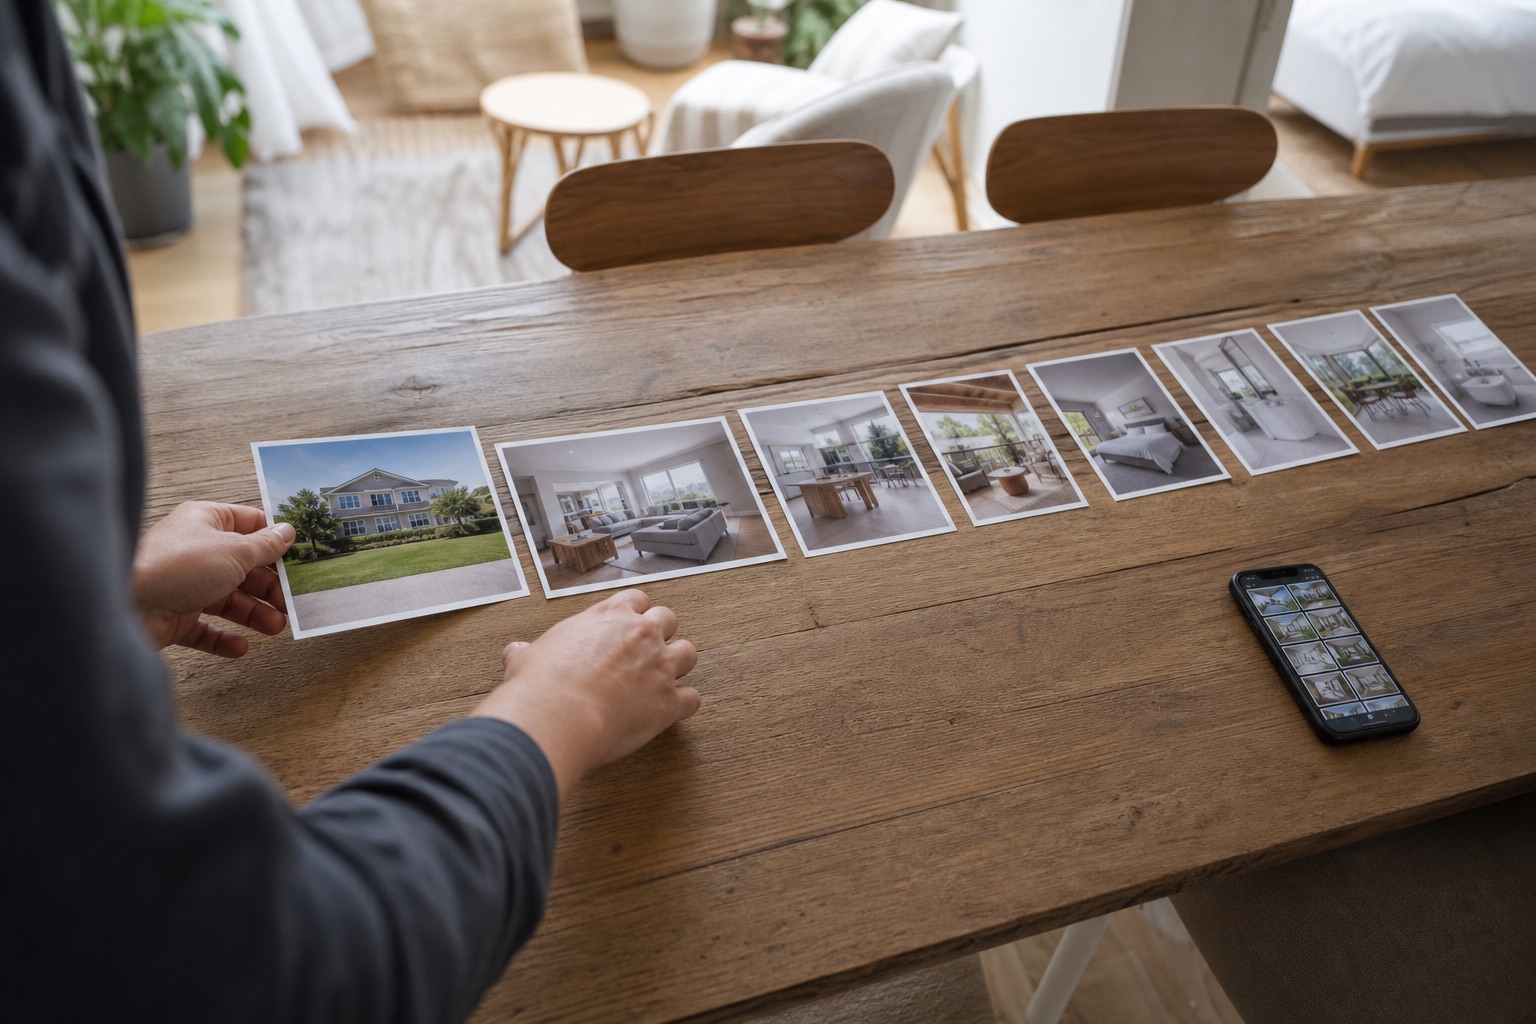
- 04Reorder images into a simple visual tour.
- 05Rewrite the title and first paragraph around specific details.
- 06Check every amenity, caption, and practical expectation.
- 07Preview the finished listing on a phone.
01
Begin with the decision a guest is trying to make
A guest is not judging your interior design in isolation. They are asking whether the property fits a particular trip. A family may care about the garden, sleeping layout, and kitchen. A couple may care about the view, bath, or walk into town. A business traveller may look for a desk, reliable Wi-Fi, and straightforward access.
Write down the two or three types of stay your property handles best. Use those to decide what appears early in the gallery and what the opening copy should explain. This gives the listing a point of view without excluding people who could still enjoy it.
02
Fix the first five photos before anything else
The opening group should answer five questions: What is special here? What does the main living space feel like? Where will I sleep? What useful feature makes the stay easier? What is the setting or outside space like? The exact order can change, but the group should feel deliberate.
Avoid using three nearly identical angles of the same room. One clear wide view, one useful second angle, and one detail are usually more informative than a run of wide-angle photographs that blur together.
03
Make the visual tour complete, not flattering at any cost
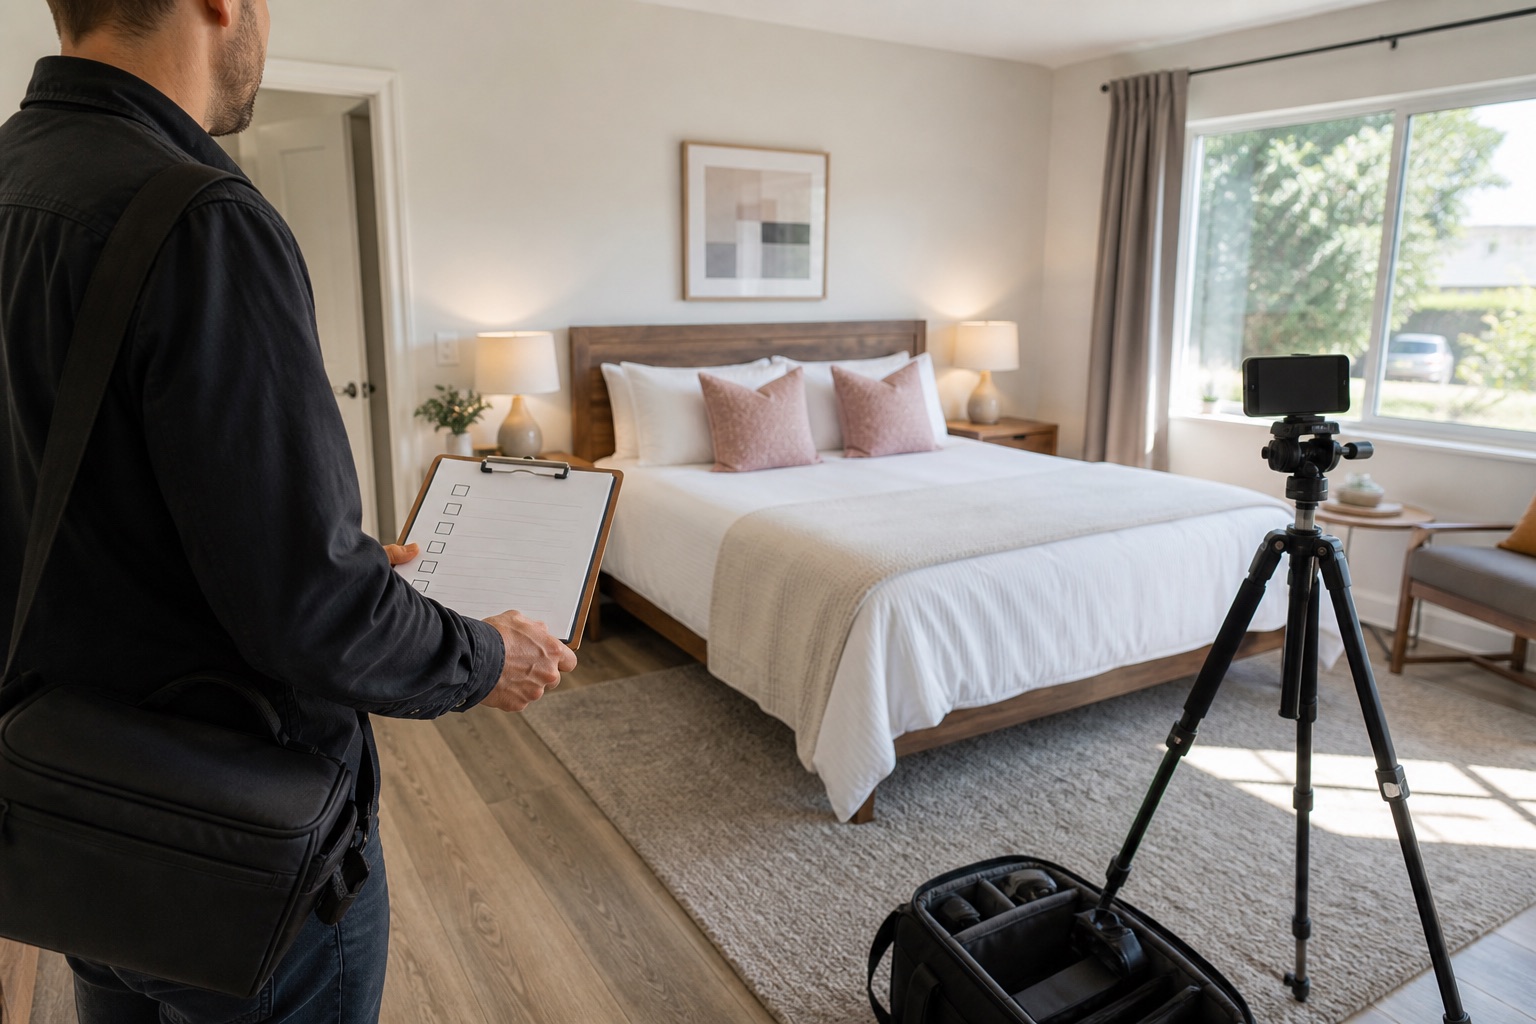
Include every room and area guests can use, including entrances, stairs, bathrooms, outdoor areas, and shared spaces. A compact bathroom shown honestly is more reassuring than a missing bathroom. If a bedroom is reached through another room, or the garden is shared, explain that in the caption.
Keep permanent property features accurate. You can improve exposure, straighten lines, remove temporary clutter, and create additional lifestyle marketing images, but the listing must not imply a different layout, view, room size, or amenity.
04
Rewrite vague copy with details guests can use
Phrases such as “beautiful retreat” and “perfect location” do not tell a guest much. Replace them with details: a south-facing terrace, a ten-minute walk to the station, a desk beside natural light, or a dining table that seats six.
Use the description to add context the photographs cannot provide. Mention sounds, stairs, parking arrangements, the feel of the neighbourhood, and how rooms connect. Clear expectations protect reviews as well as conversion.
- Name the feature instead of calling it luxurious.
- State walking times only when you have checked them.
- Explain limitations calmly rather than hiding them.
- Keep the opening paragraph short enough to read on a phone.
05
Treat amenities as search information
Guests use filters, so a missing amenity selection can make a suitable property invisible. Work through the full amenity list and confirm what is actually available. Then photograph the amenities that influence a booking, especially a workspace, parking, pool, hot tub, cot, outdoor dining area, or accessible entrance.
Do not make the guest infer that an amenity exists from the description alone. The selected amenity, photograph, and caption should agree.
06
Use a simple monthly listing review
A listing becomes stale when small changes accumulate. Set aside twenty minutes each month to compare it with the property as it exists now. Check the first five photos, amenities, seasonal details, local information, and the questions guests repeatedly ask before booking.
Use enquiries and reviews as research. If several guests praise something that appears late in the gallery, move it forward. If they misunderstand the layout, add a clearer angle or caption rather than writing a longer sales pitch.
Further reading
Common questions
Questions people ask before they start
What should I improve first on my Airbnb listing?
Start with the cover photo and the next four images. They form the quickest impression of the property. Then check that your title, description, amenities, and captions support the same reason to book.
How often should Airbnb photos be updated?
Review them whenever you redecorate, replace furniture, change an amenity, or market a different season. Even without major changes, a full review every few months helps keep the listing accurate.
Can better photos improve Airbnb search performance?
Airbnb says listing quality and popularity influence search, and that photos can contribute to listing quality. Photos are only one factor, so they should be improved alongside pricing, availability, reviews, accuracy, and host responsiveness.
About this guide
Written by the Instant Photoshoot Editorial Team
We create practical guidance for the people responsible for property and hospitality images. Our approach separates factual listing photography from the additional lifestyle and campaign scenes a marketing team may want to create.
Read how we create and review guides